… or I’ve never thought I’ll ever do such transplants 🙂
Intro
I was driving back home the other day when I saw this …
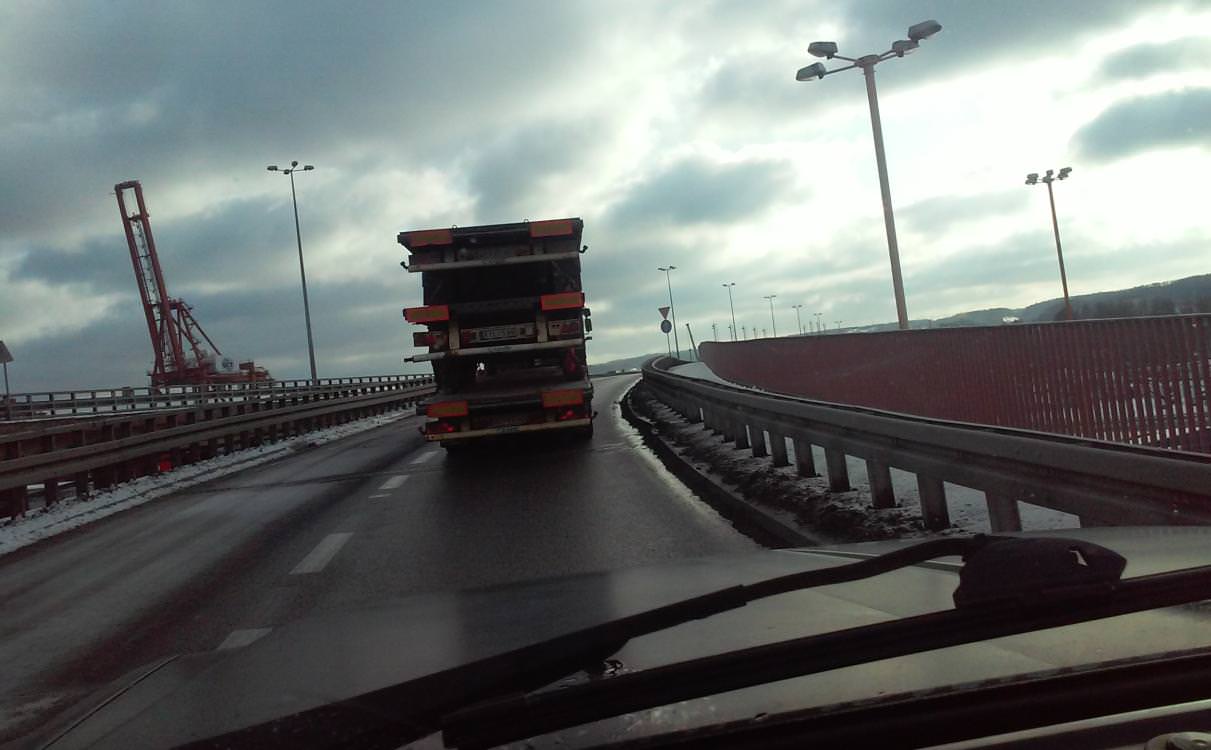
A semi-trailer on a semi-trailer on a semi-trailer.
Mindfuck FTW! 😀
/Intro
Ok, this is going to be a rather lengthy and picture-rich post simply because it contains several machine fixes. I’ve skipped most of the pics but there are still quite a few of ’em left. I’ve also lost quite a few pics but that is another story.
In a previous post, I described the extreme deYellowing of 1040STF which was one of 23 Atari machines that I’ve bought some time ago. I’ve managed to fix/refurb/rebuild (you name it) 16 out of 23 and 4 are still waiting in a queue.
This time I will try to describe what I did with the remaining units 🙂
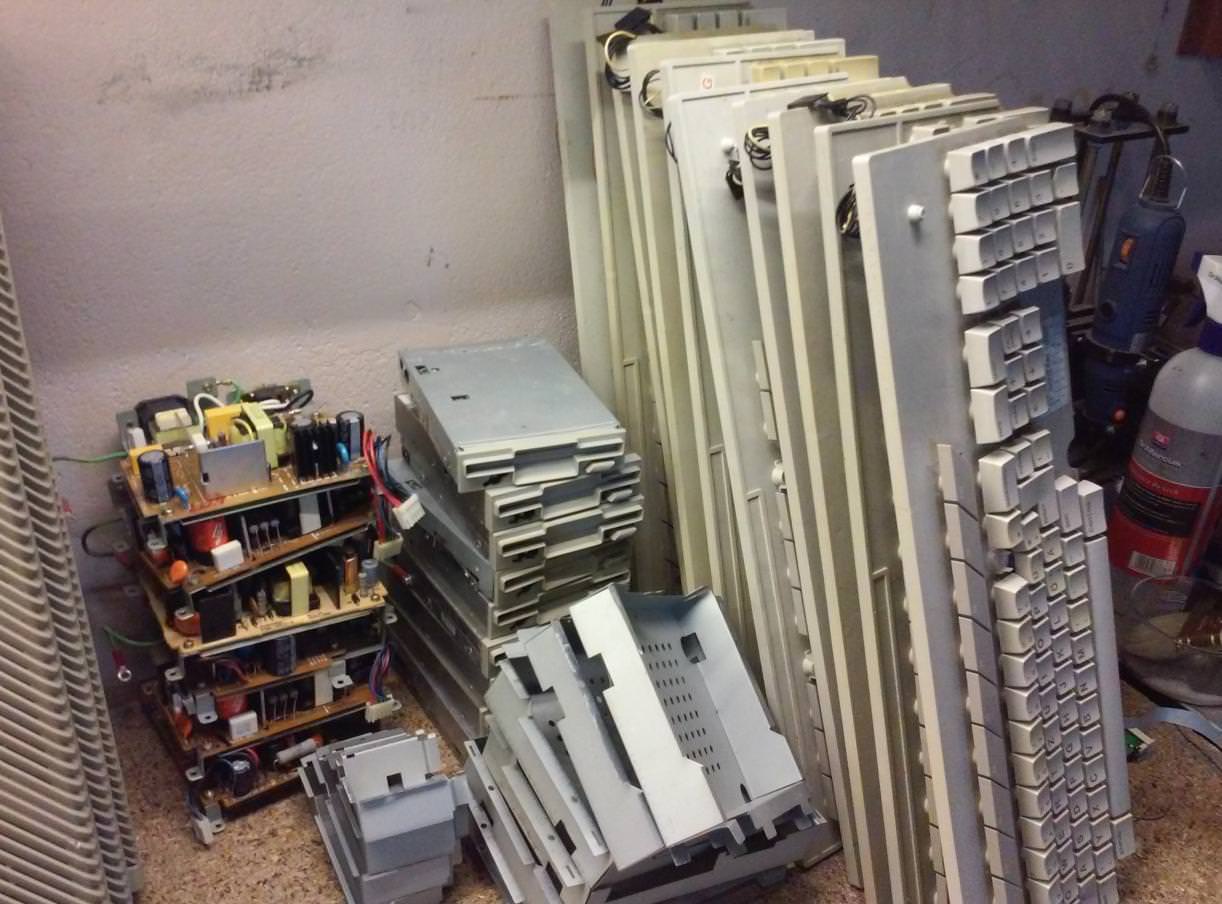
Disassembly and review
I’ve made quite a few pics during disassembly and cleaning preparations. There are also a few mods already mounted that I thought might be interesting to show.
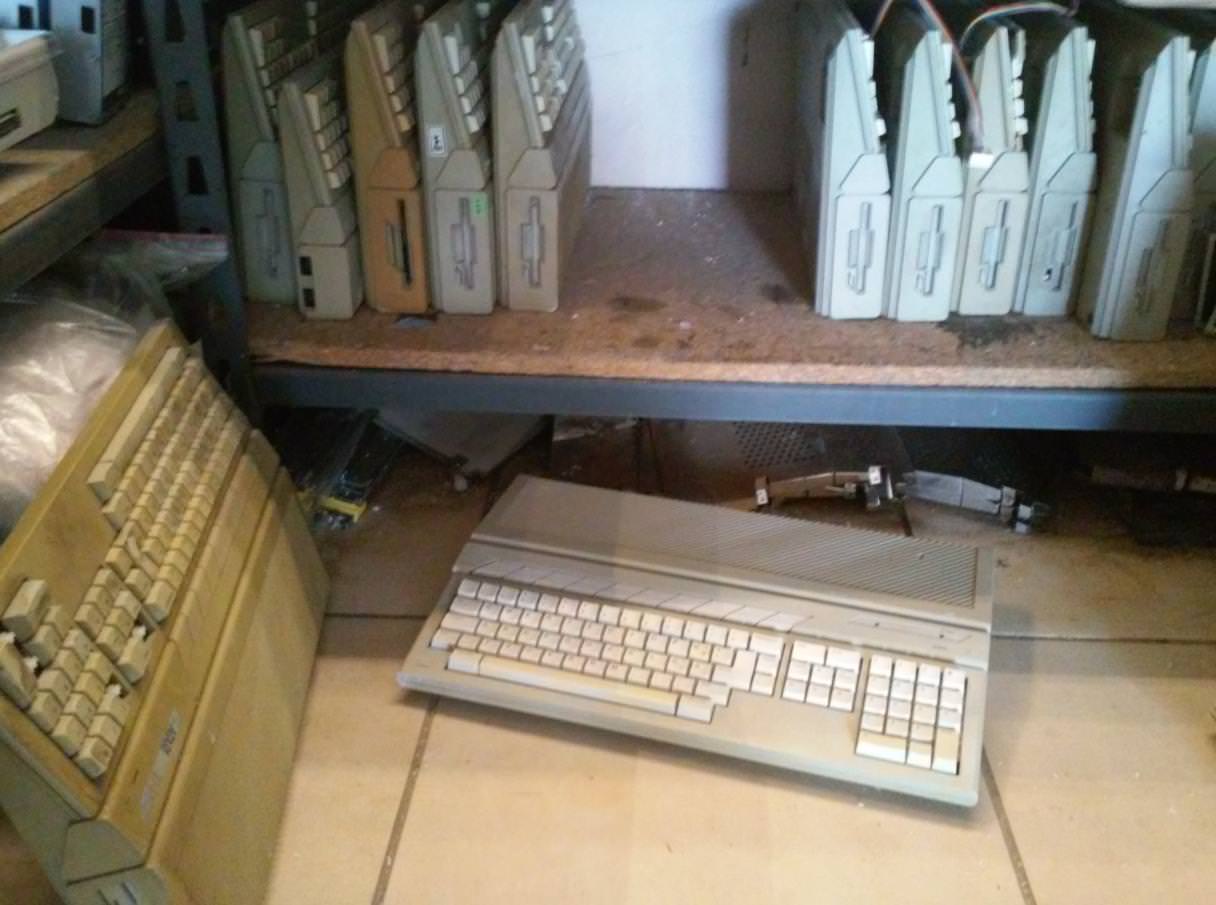


ATARI! ATARI EVERYWHERE!

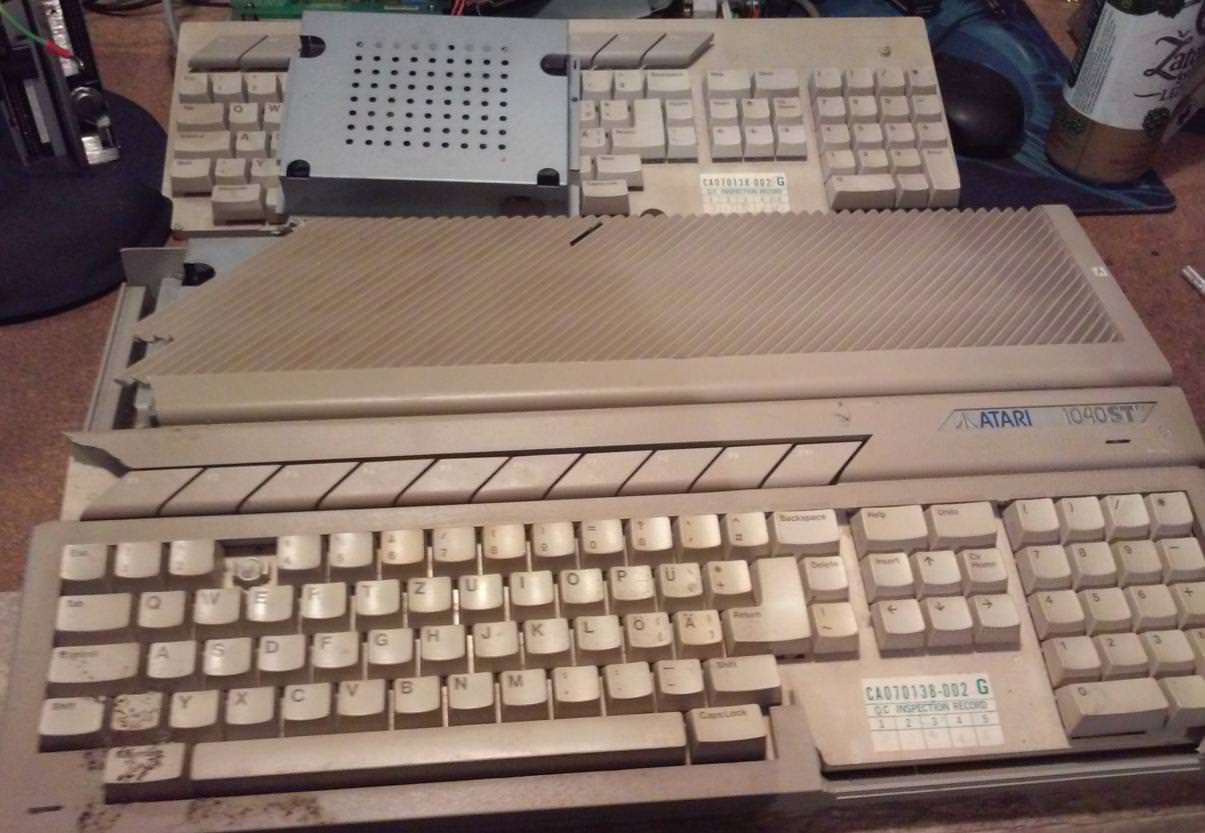
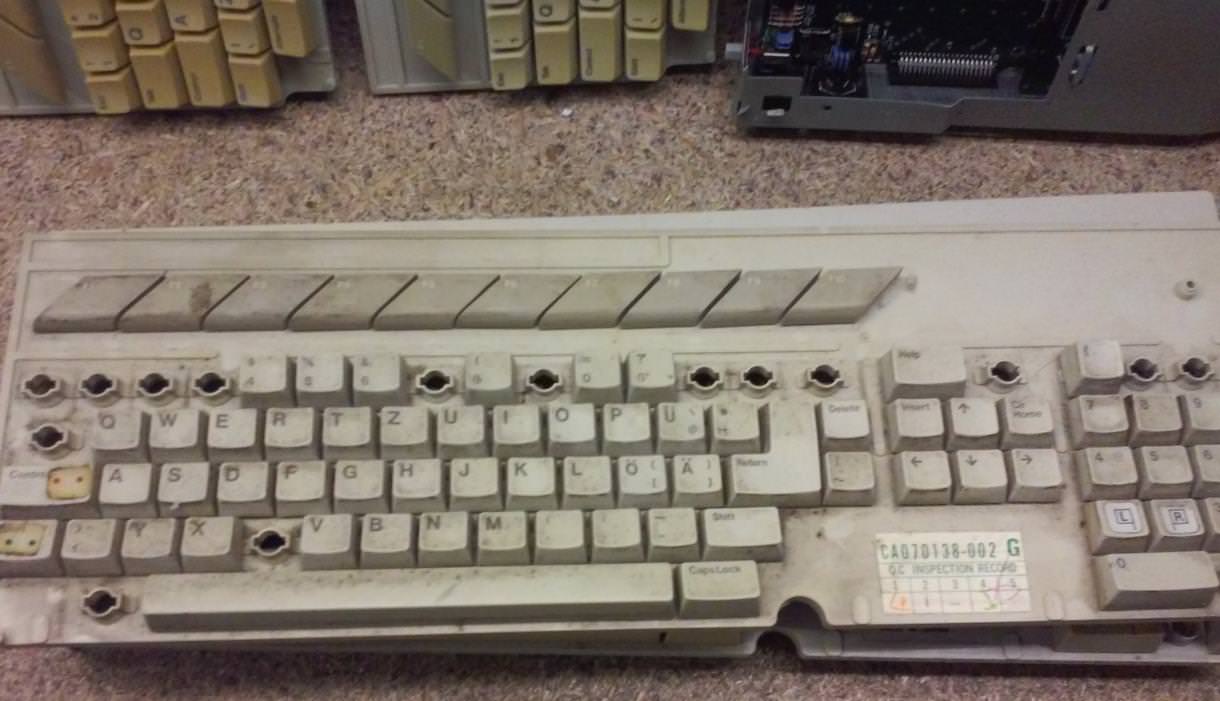
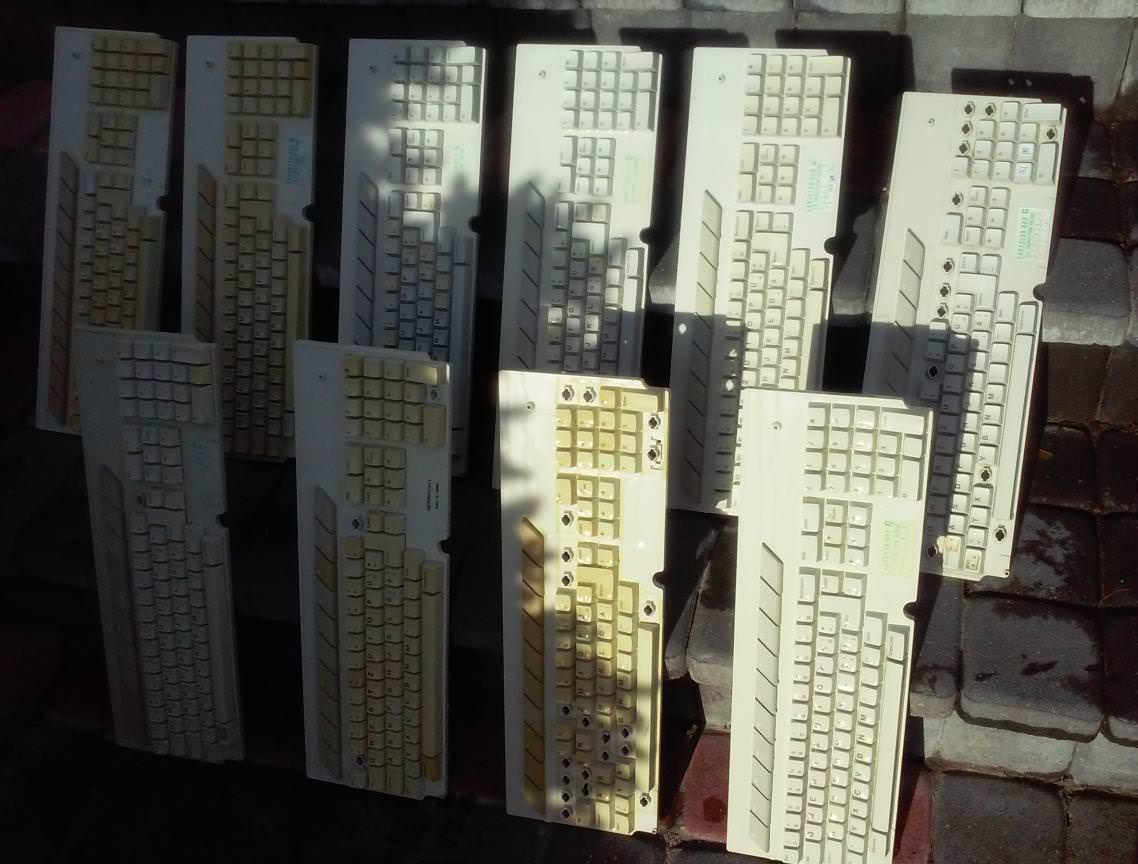
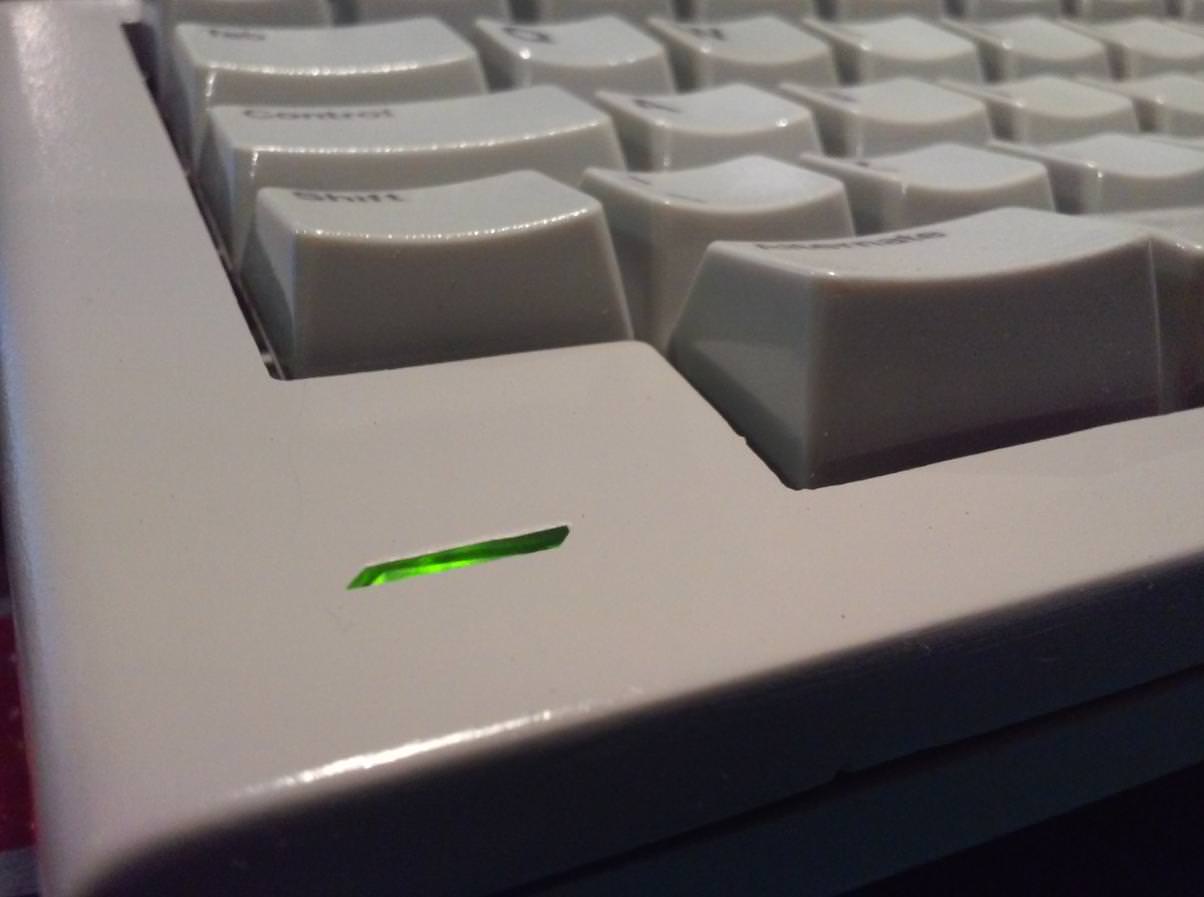
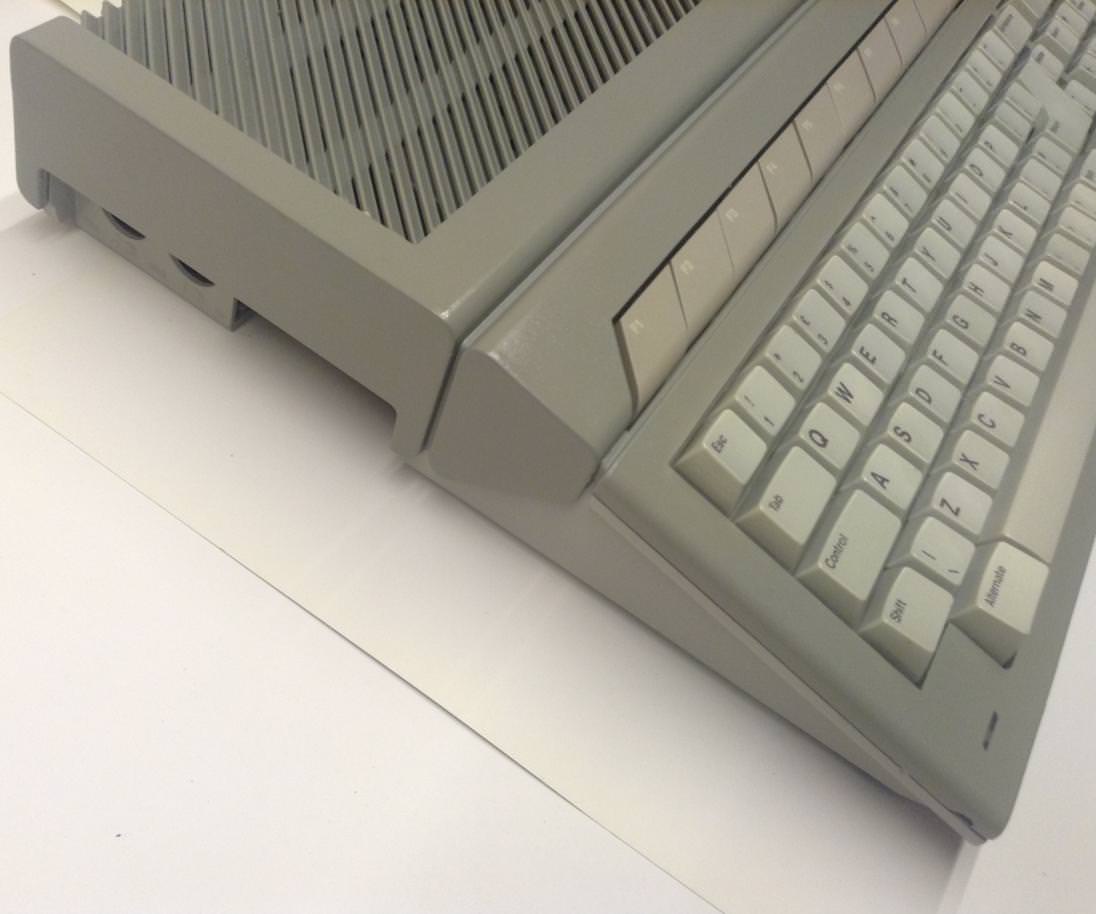
Keyboards
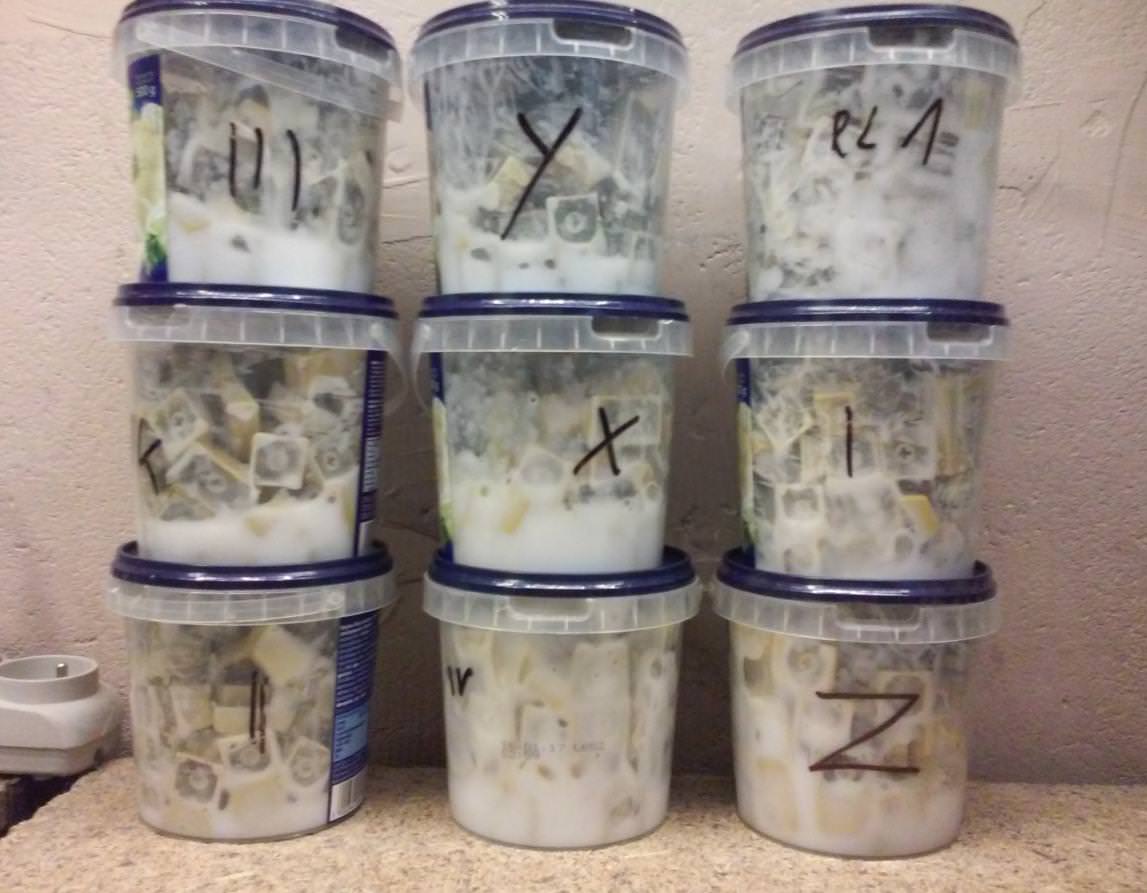
I had to spend a while on keyboards. Retro-brightening and adding missing keys was my main task here.


… washing queue.

… drying 🙂
… keycaps retro-brightening (old method)
The new method will be described in one of my future posts so stay tuned 😉
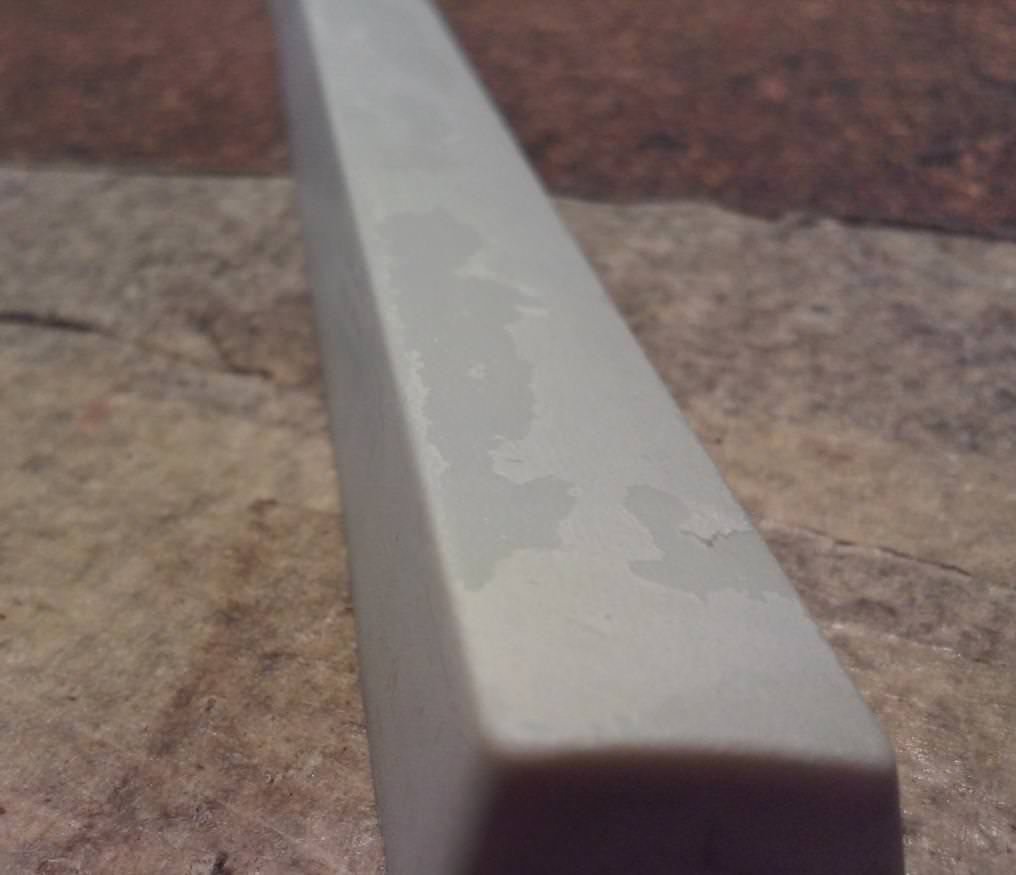
Some of the keys were covered with strange film after retro-brightening.
I suspect that these keys were painted with clear matte spray paint.
It was sorted out easily. The paint became very brittle and it came off rather painlessly after peroxide treatment.

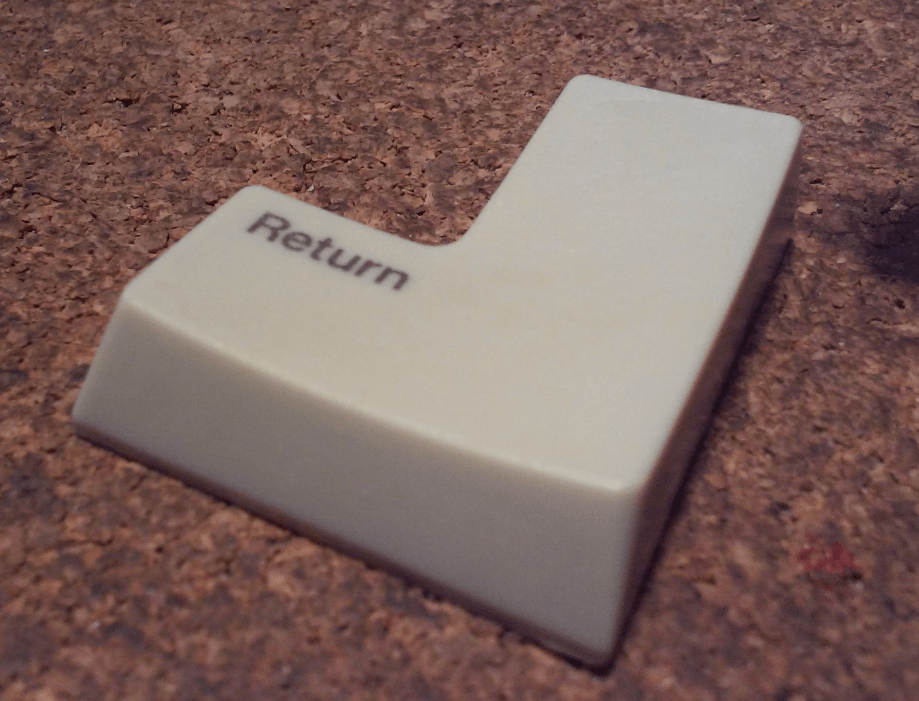
Some keycaps were over-brightened and had to go through acetone vapor treatment. I am not super happy with the outcome because in this case, timing is really important. If you keep a keycap for too long in a vapor, it will become very glossy. On the other hand, if you keep it too short then you will end up with unreadable letters on the keys 🙁
Sadly, redoing this won’t help much.

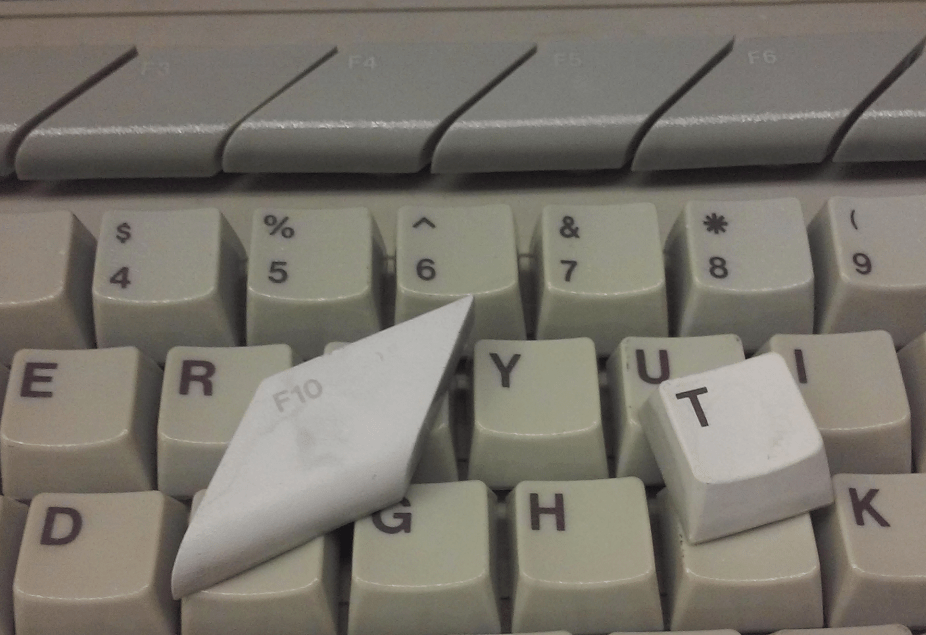
Here is a comparison between keycaps that had gone through a vapor(keyboard) and the ones that haven’t(F10 and T)
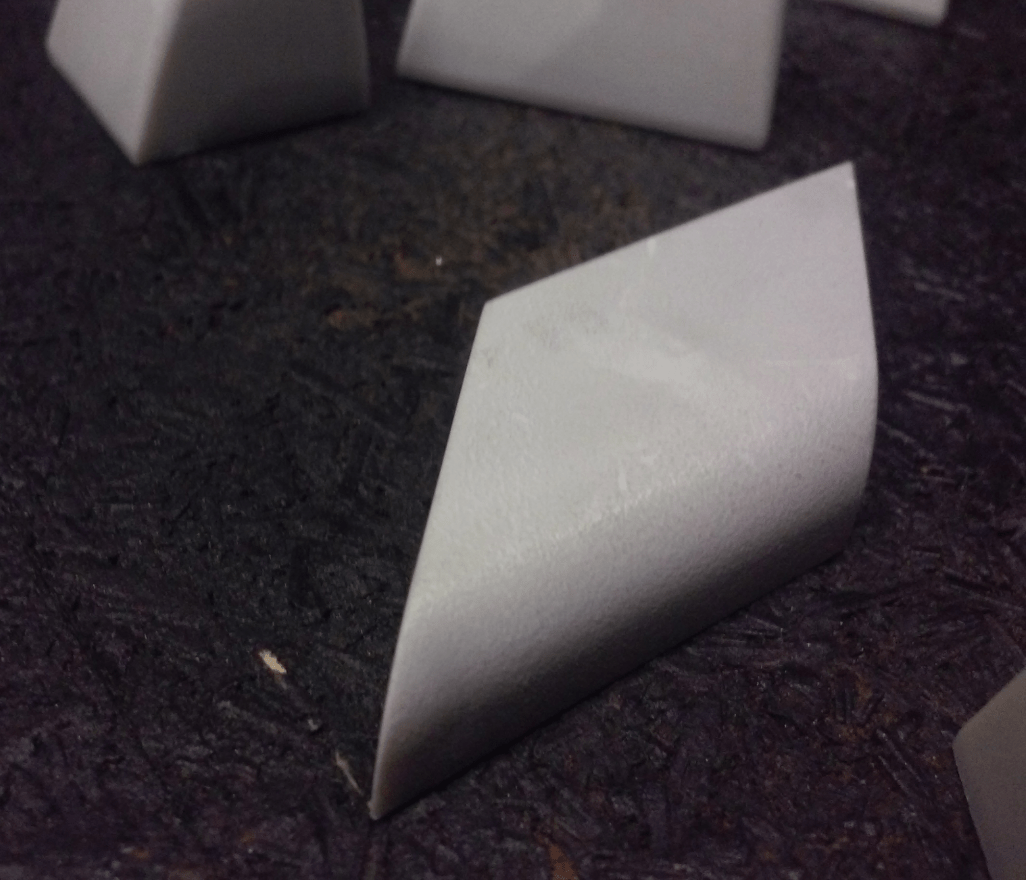
 The outcome.

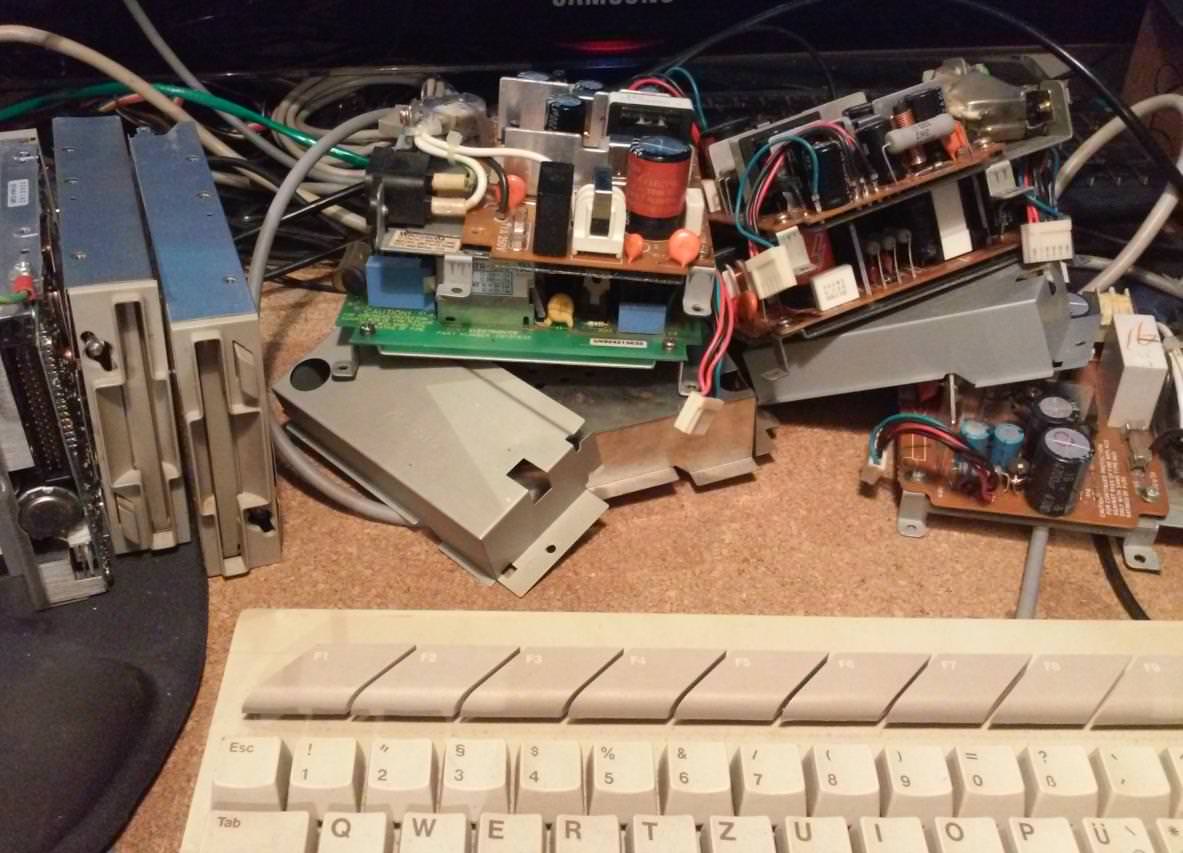
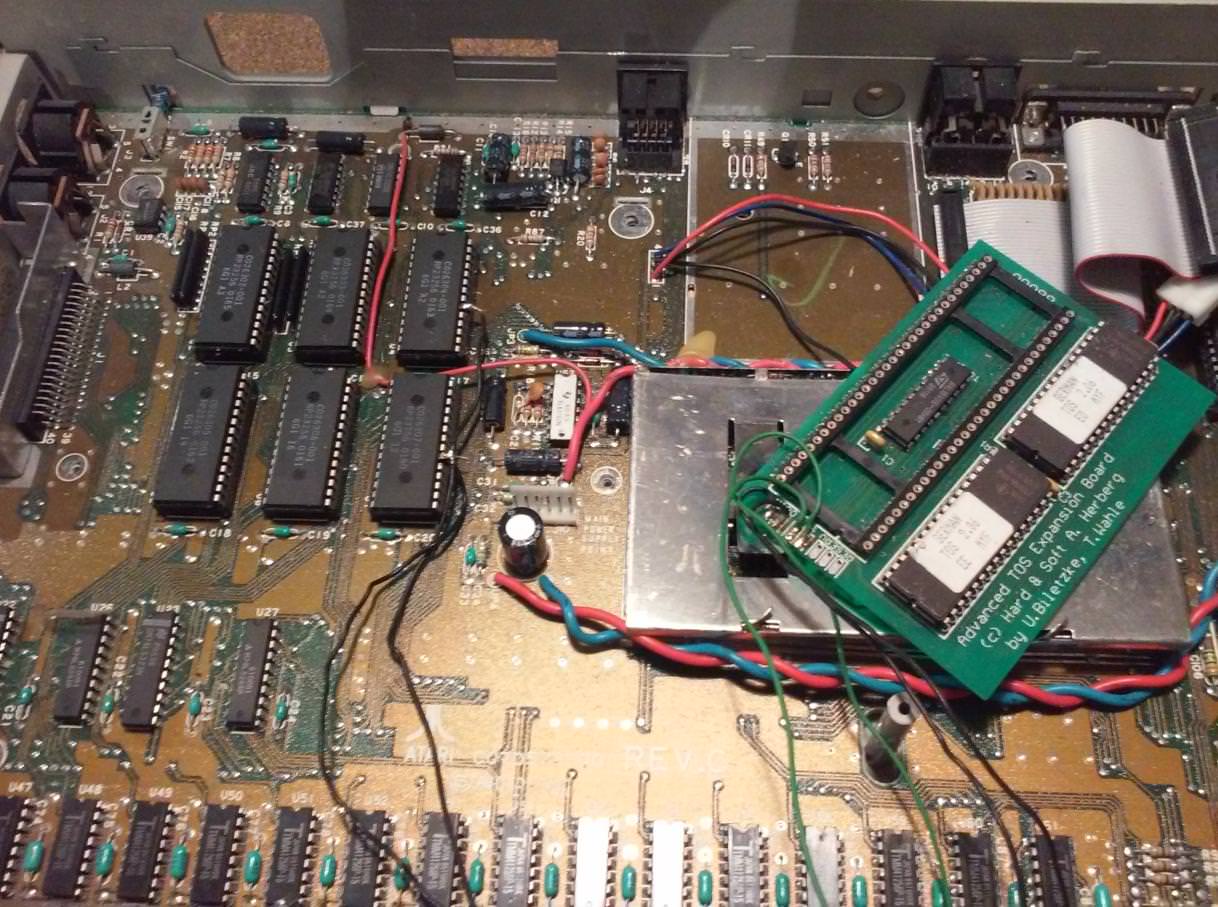
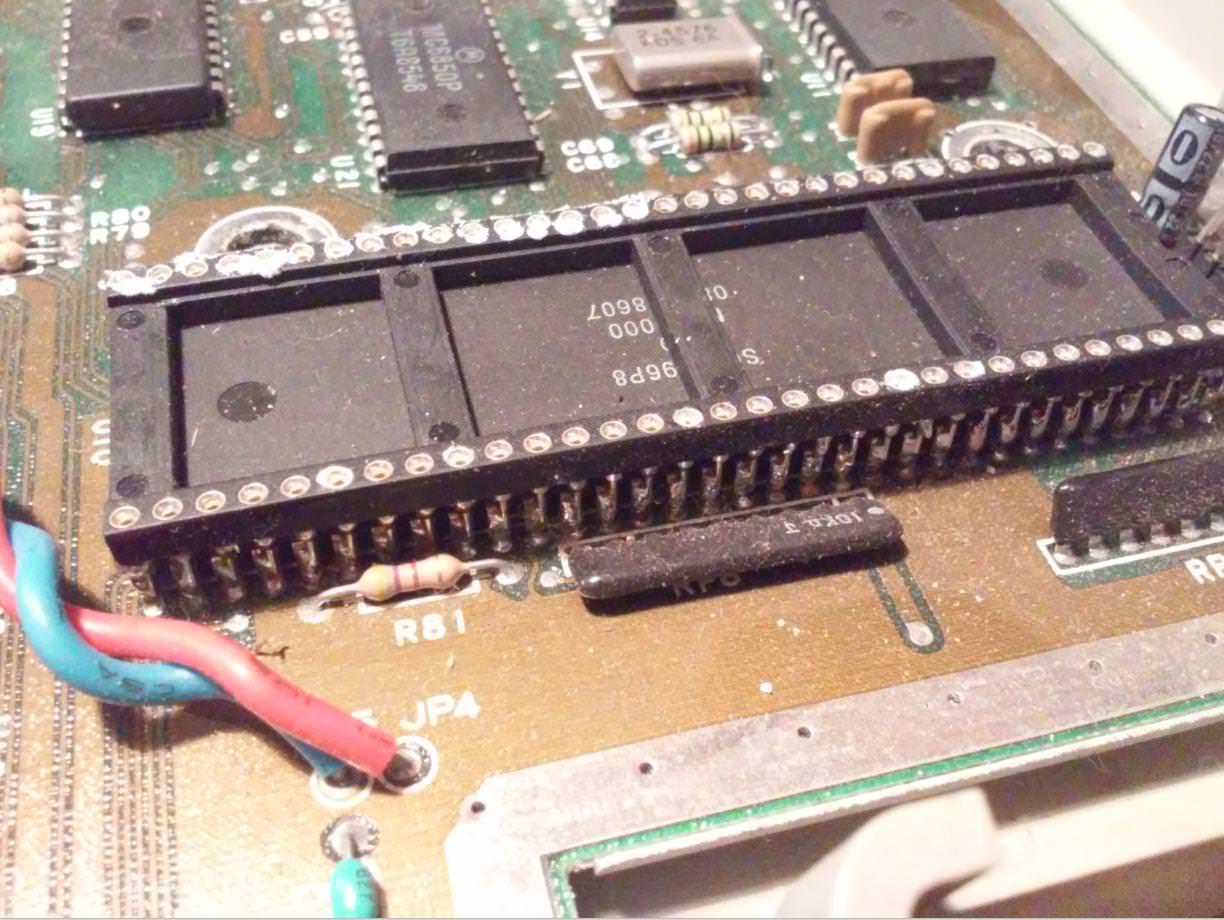
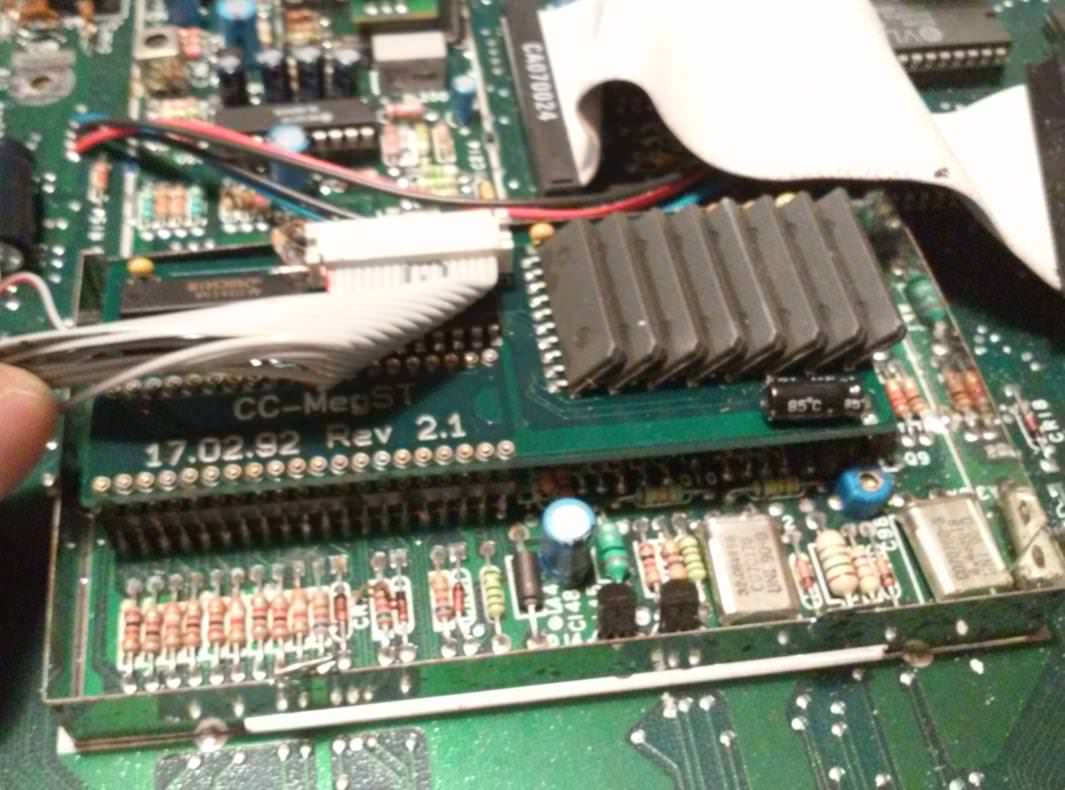
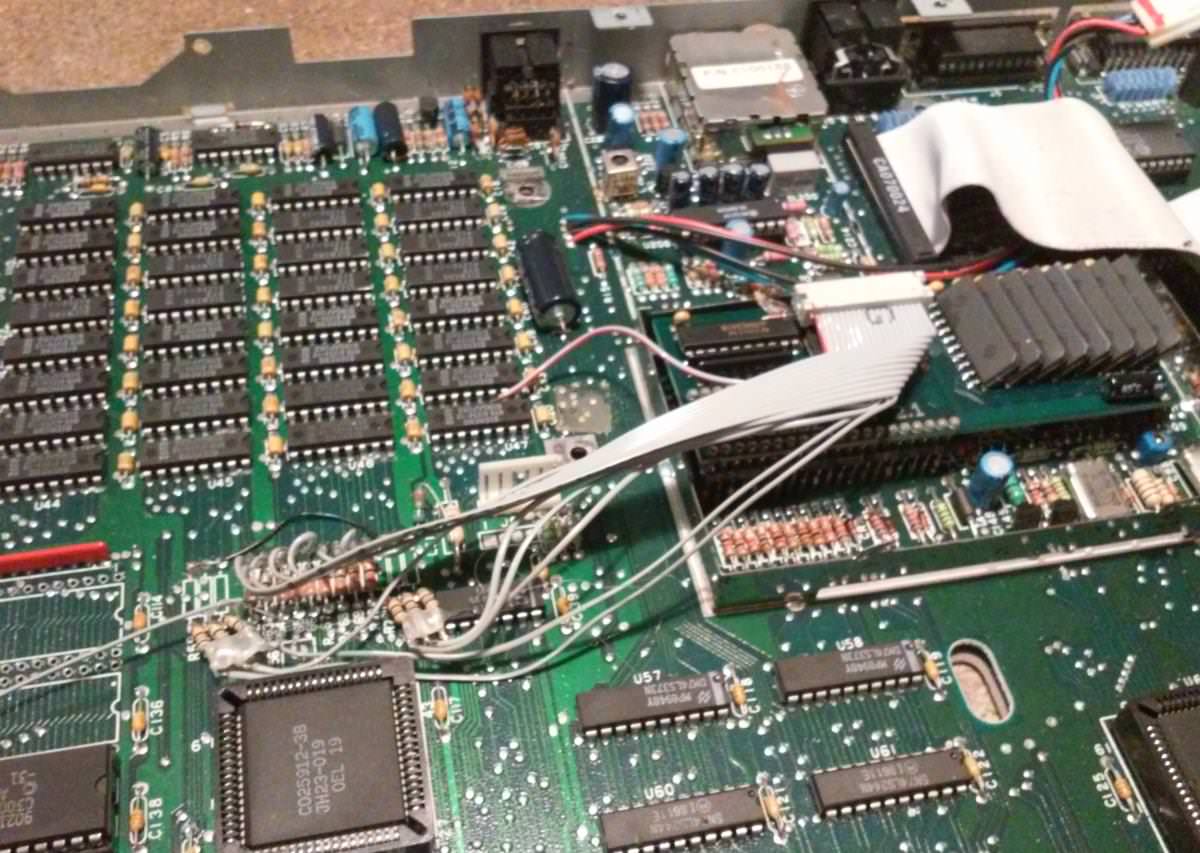
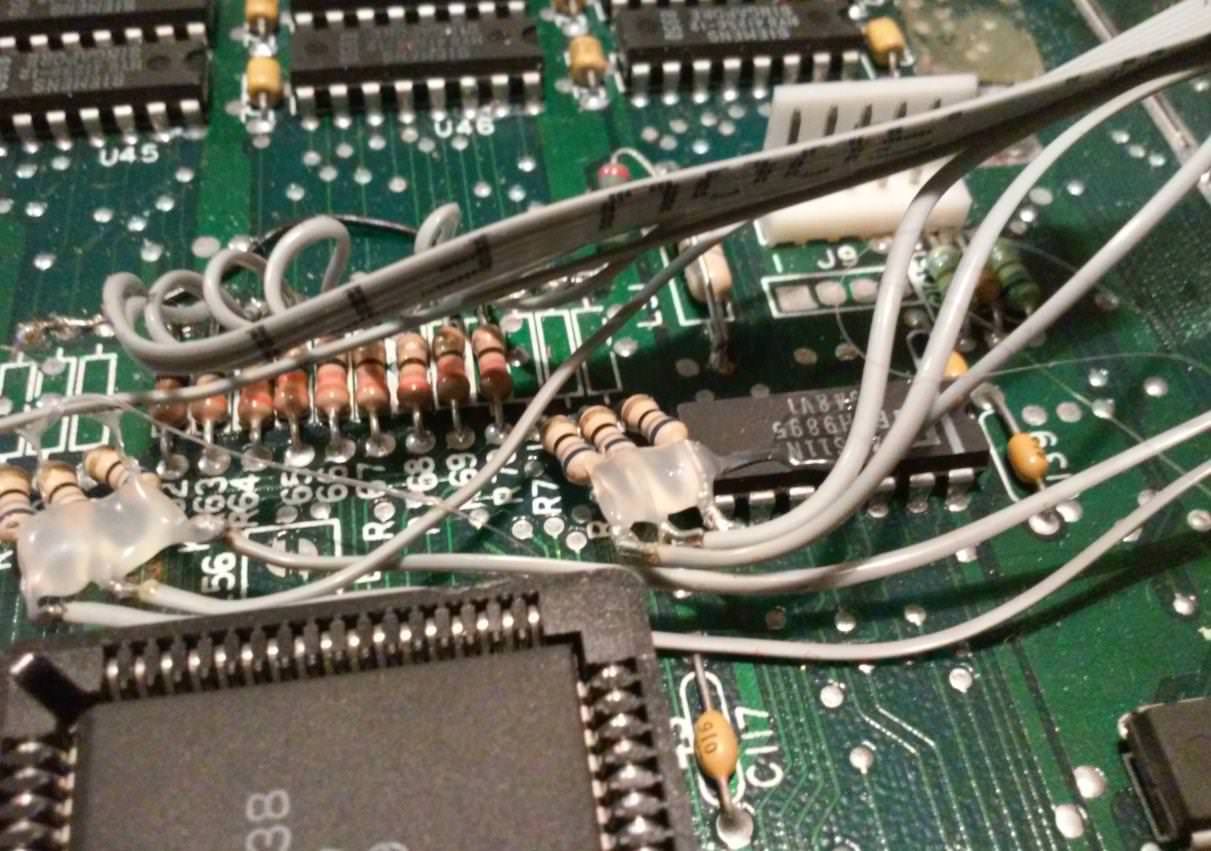
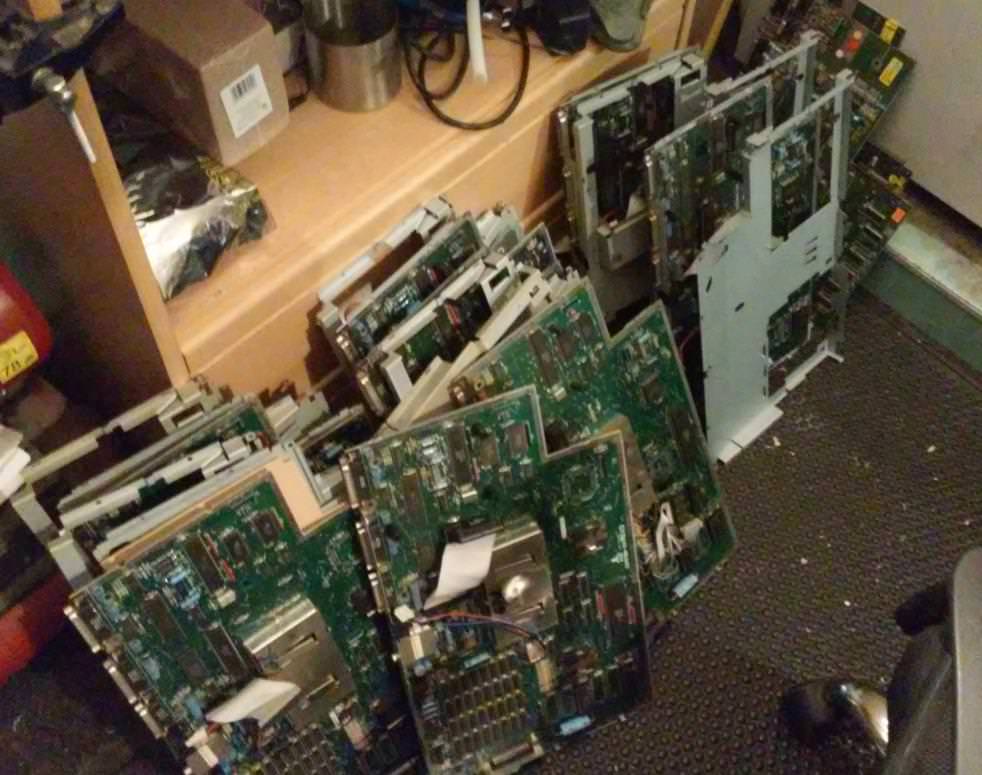
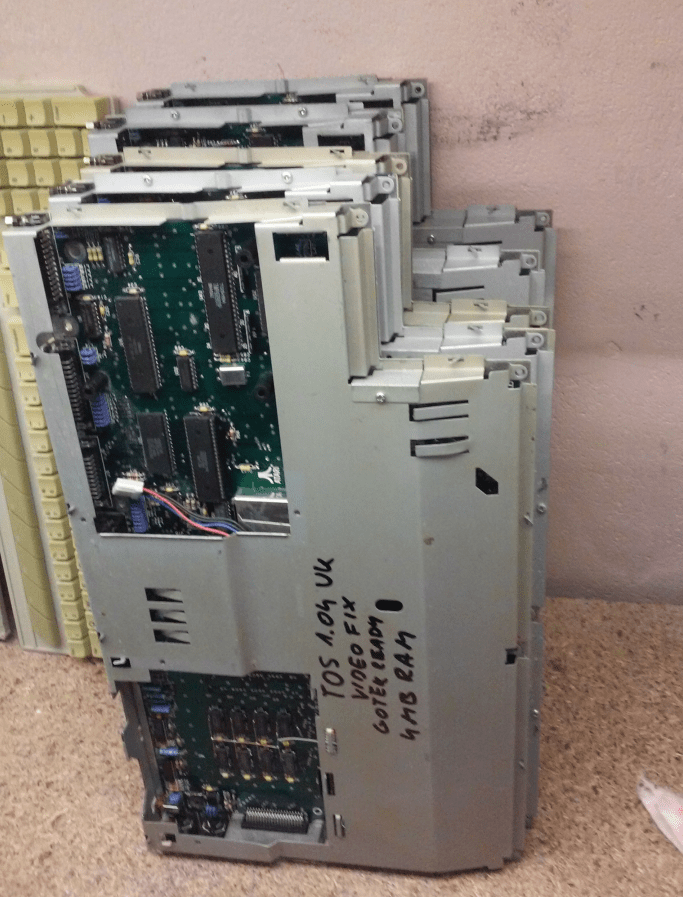
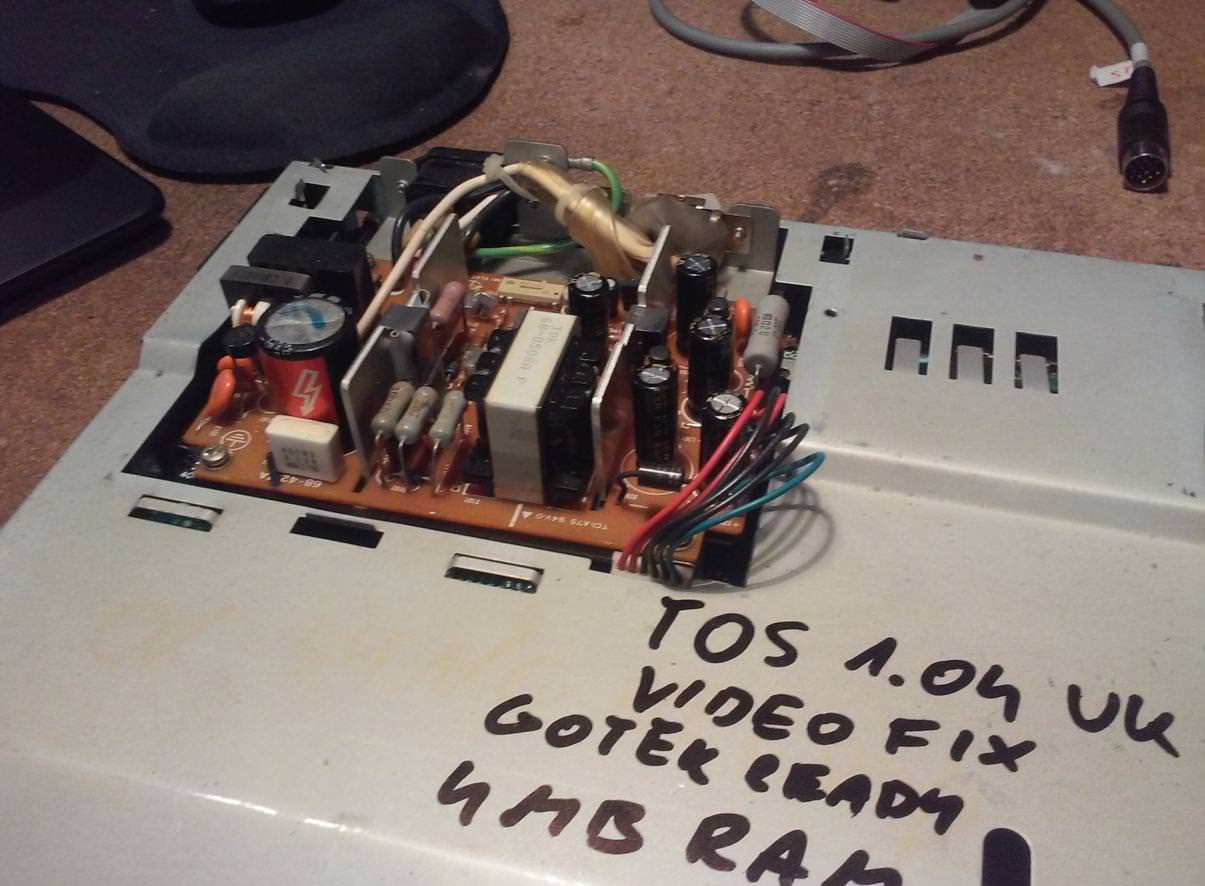
Motherboards and mods
Well, I don’t have much here to show. I’ve screwed up and lost a lot of pics while I’ve worked on these motherboards. Only a few pics survived 🙁
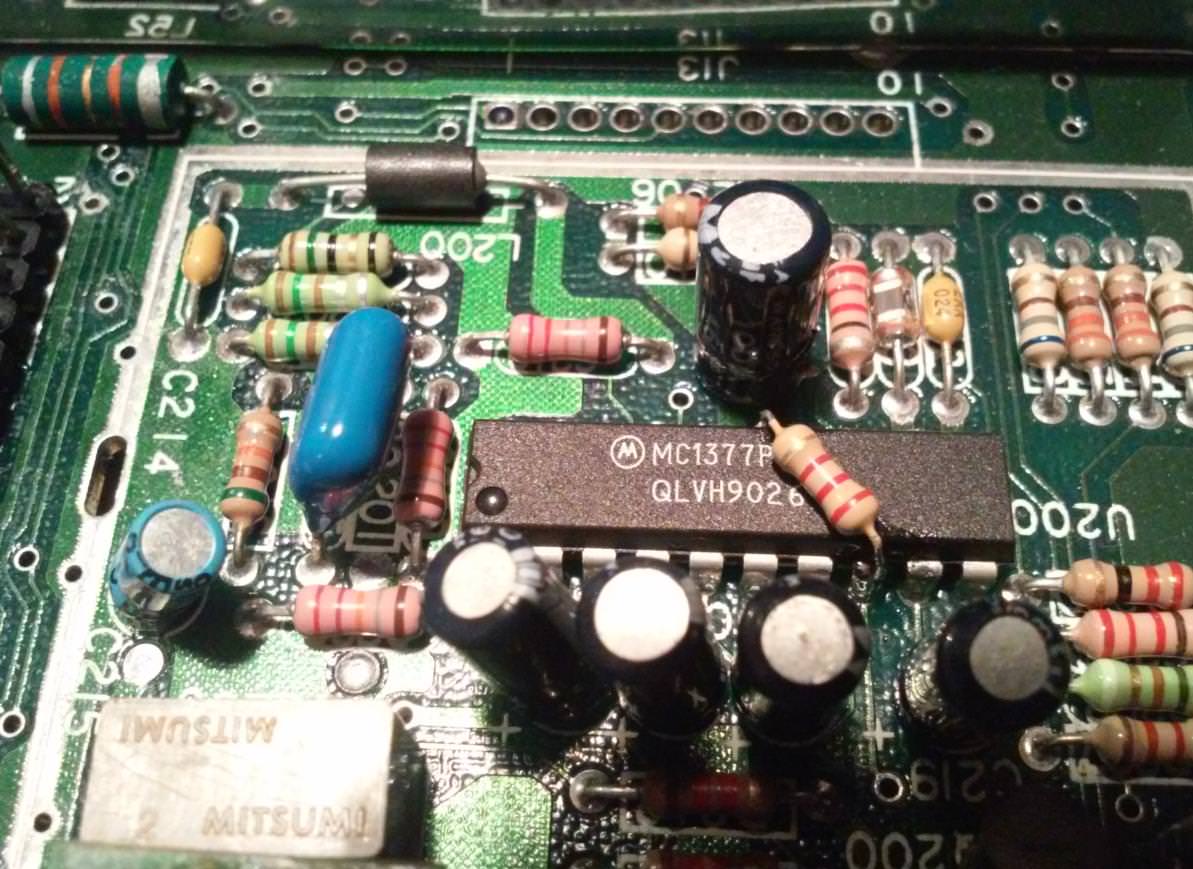
Generally speaking (lol, it should be ‘writing’) mods weren’t advanced.
Most of the motherboards received the following upgrades:
- 4MB upgrade
- Excellent video hack – thanks to Exxoss
- Extended floppy power lead making Atari – GOTEK Ready!
- TOS 1.04 upgrade on the brand new flash chip
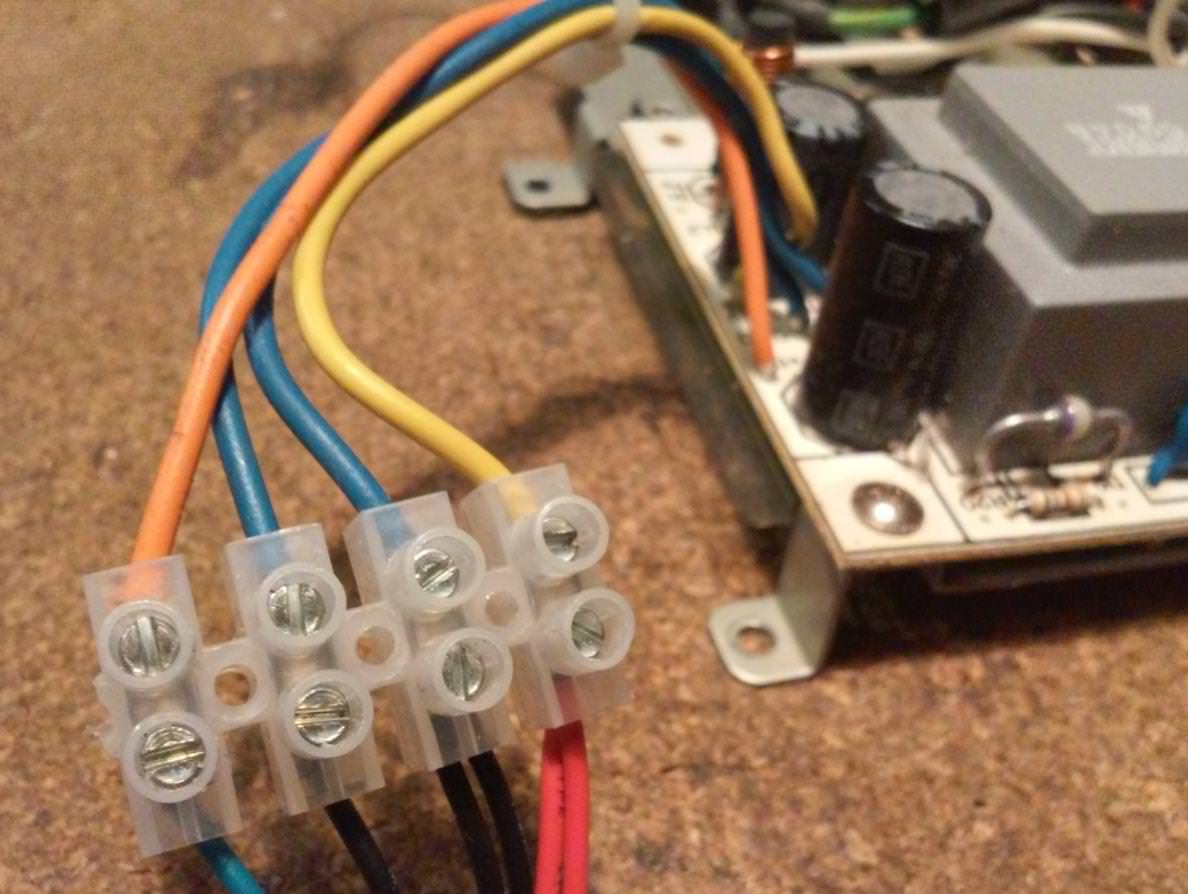
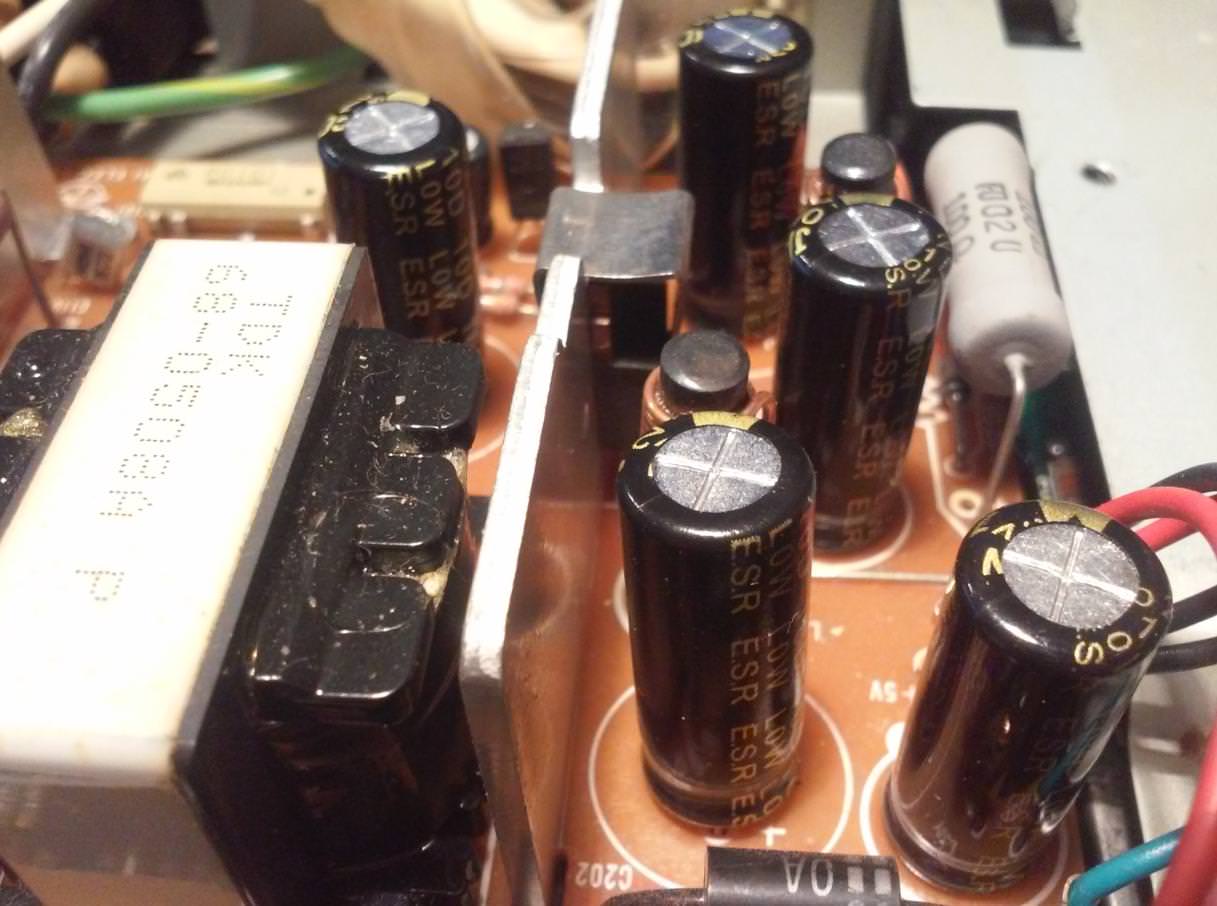
Fixes were mainly about replacing faulty caps in power supplies, faulty RAM chips, and a few other minor things that I could have covered here but I don’t have pics 🙁
Anyway, let’s move on to a bit harder part …
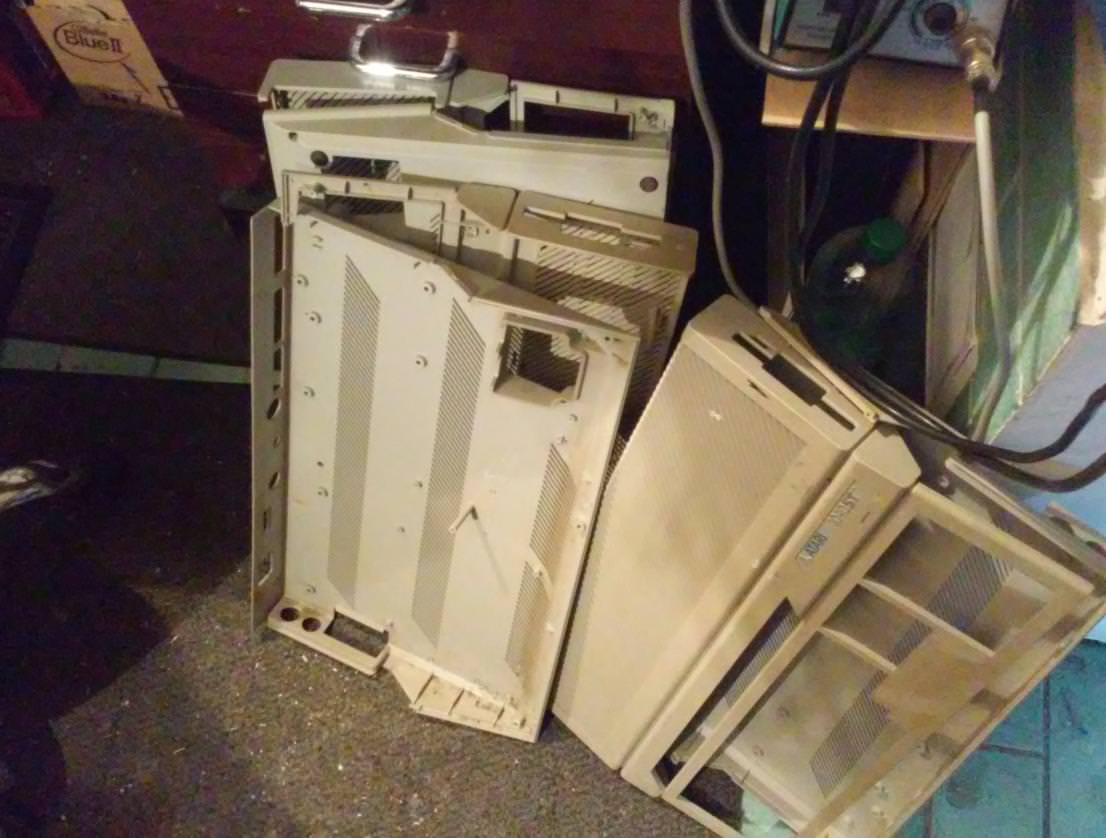
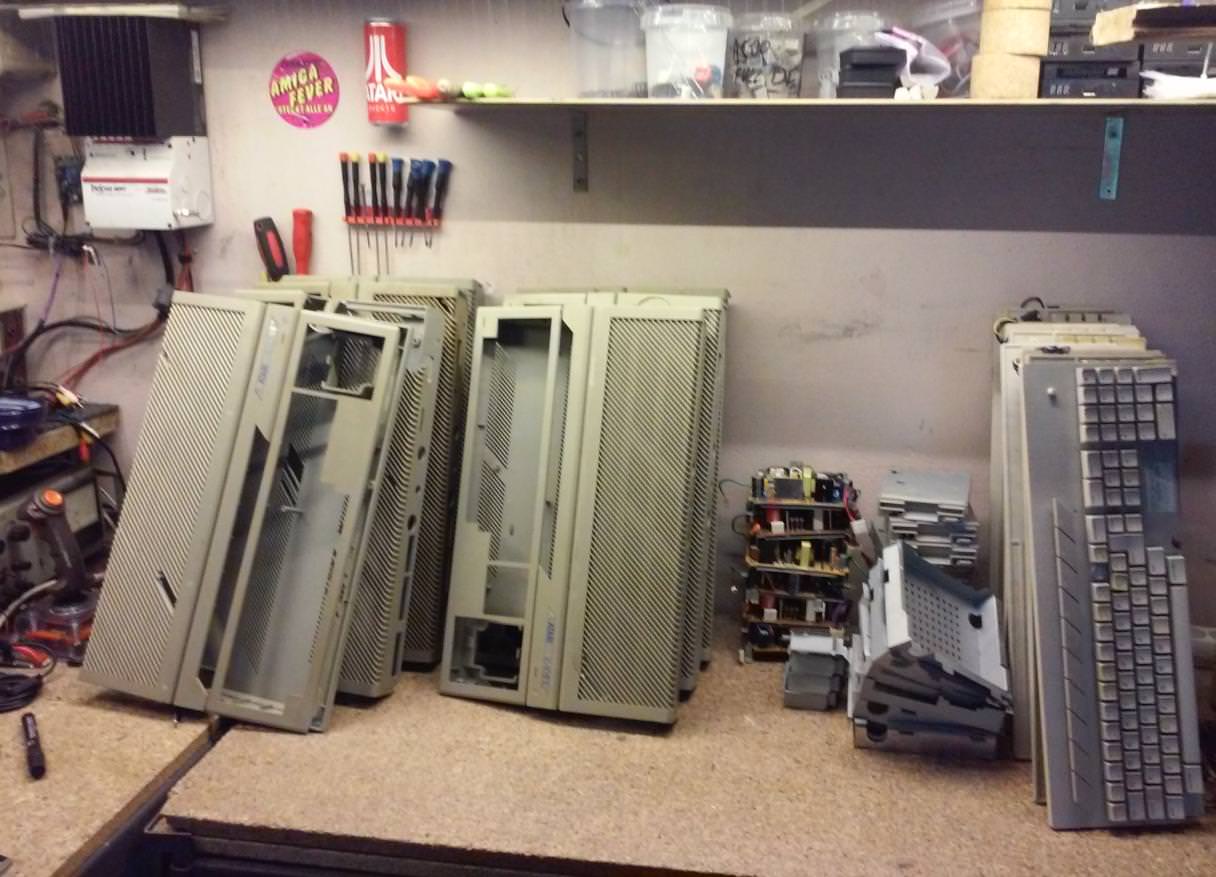
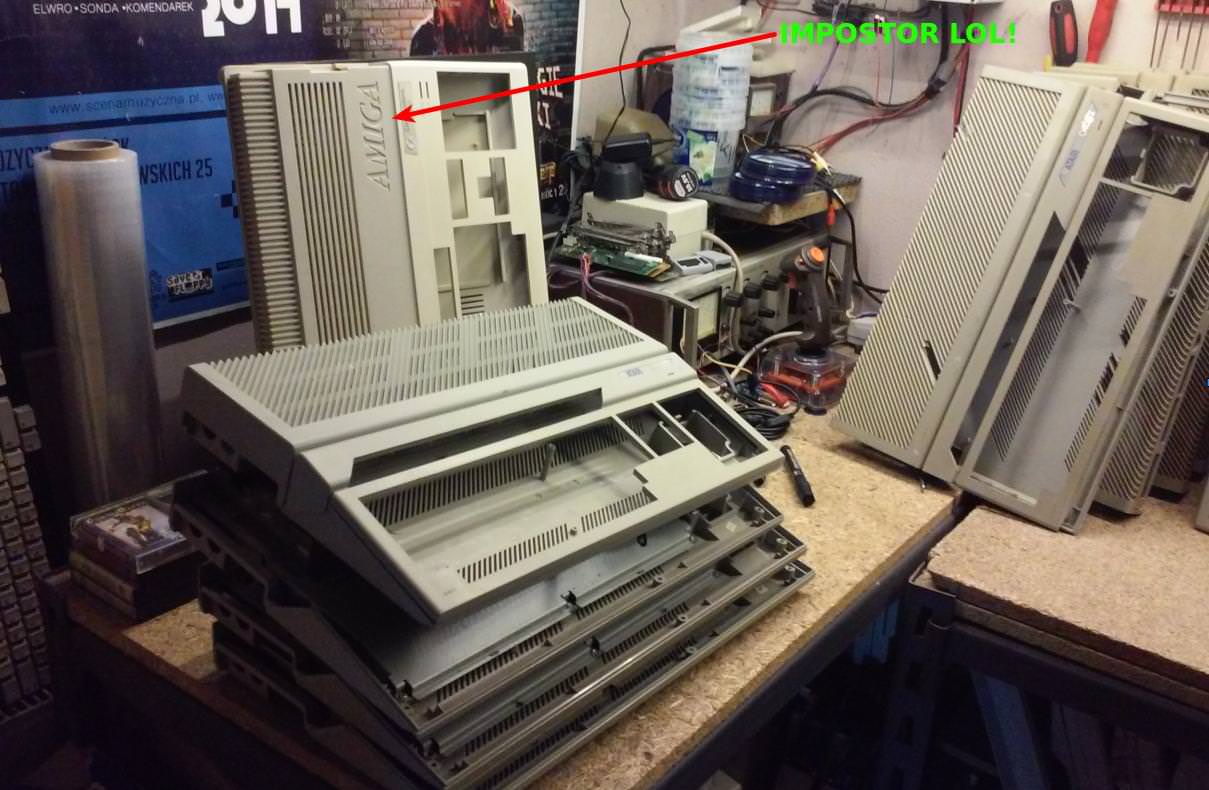
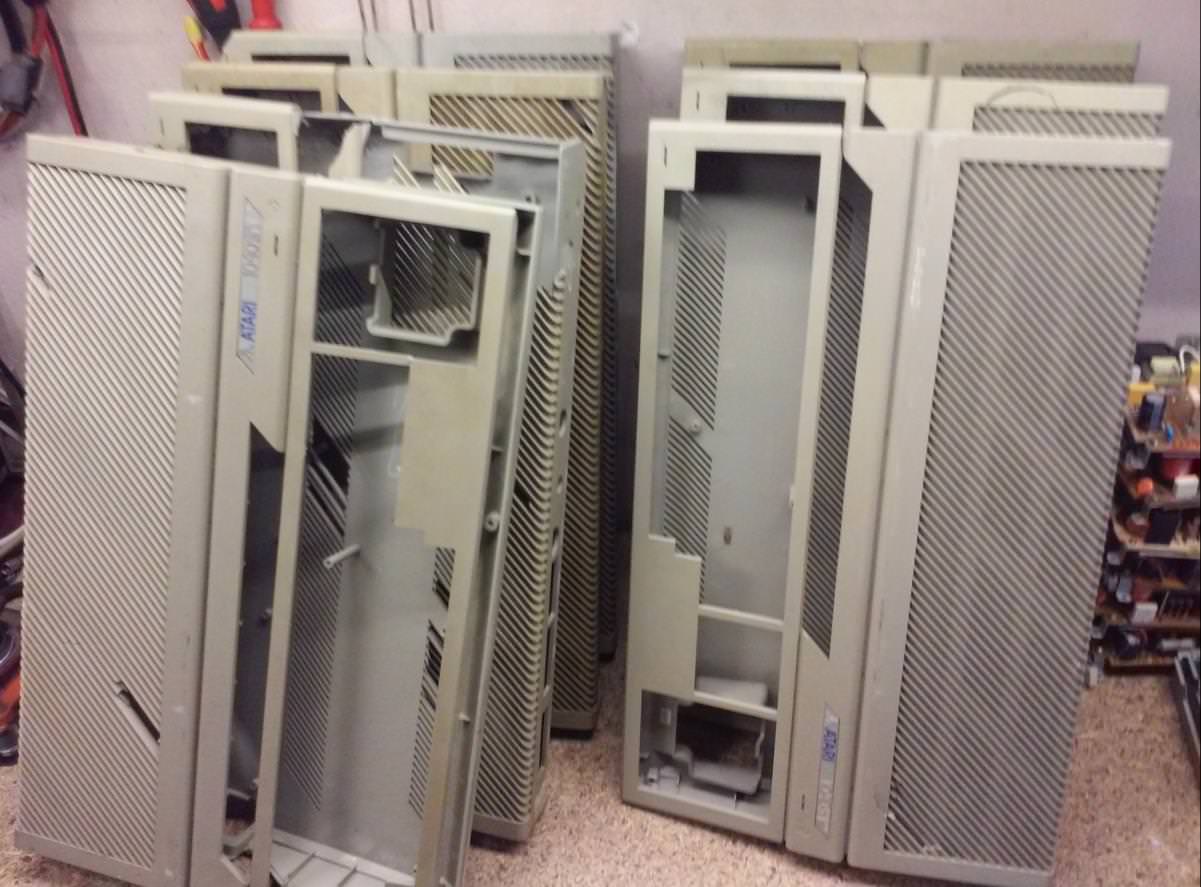
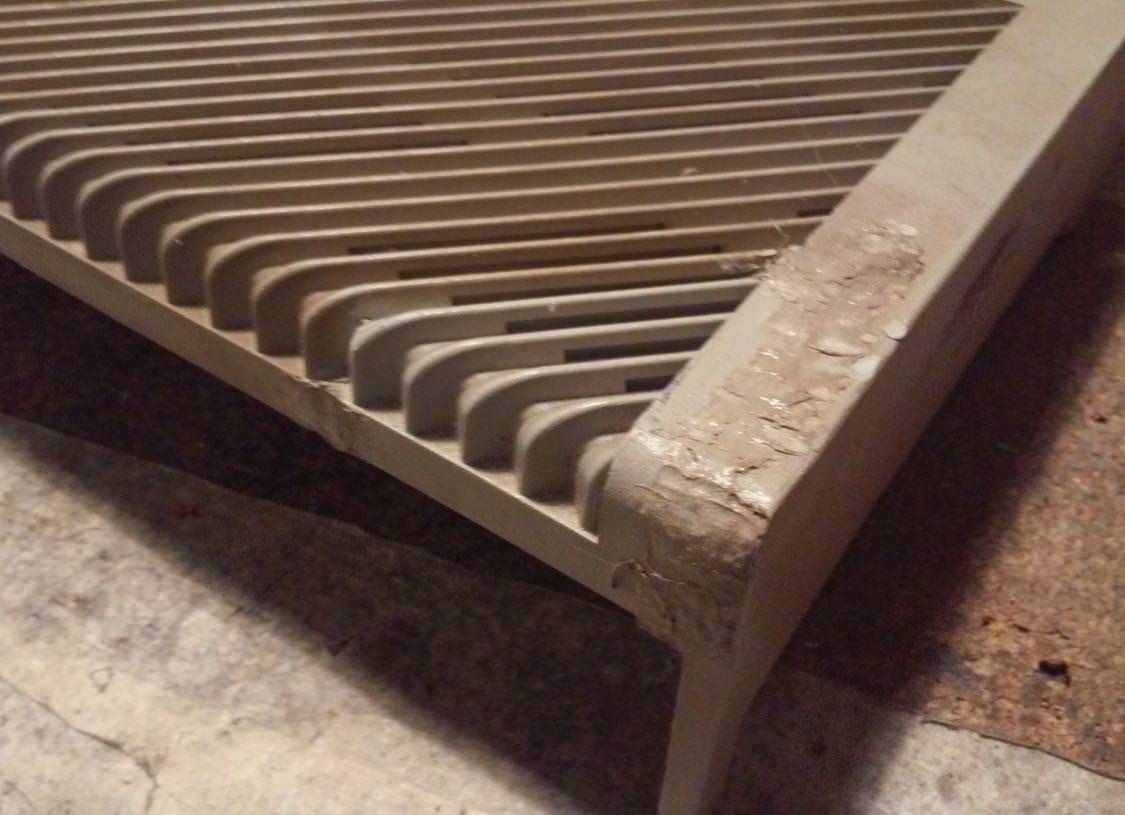
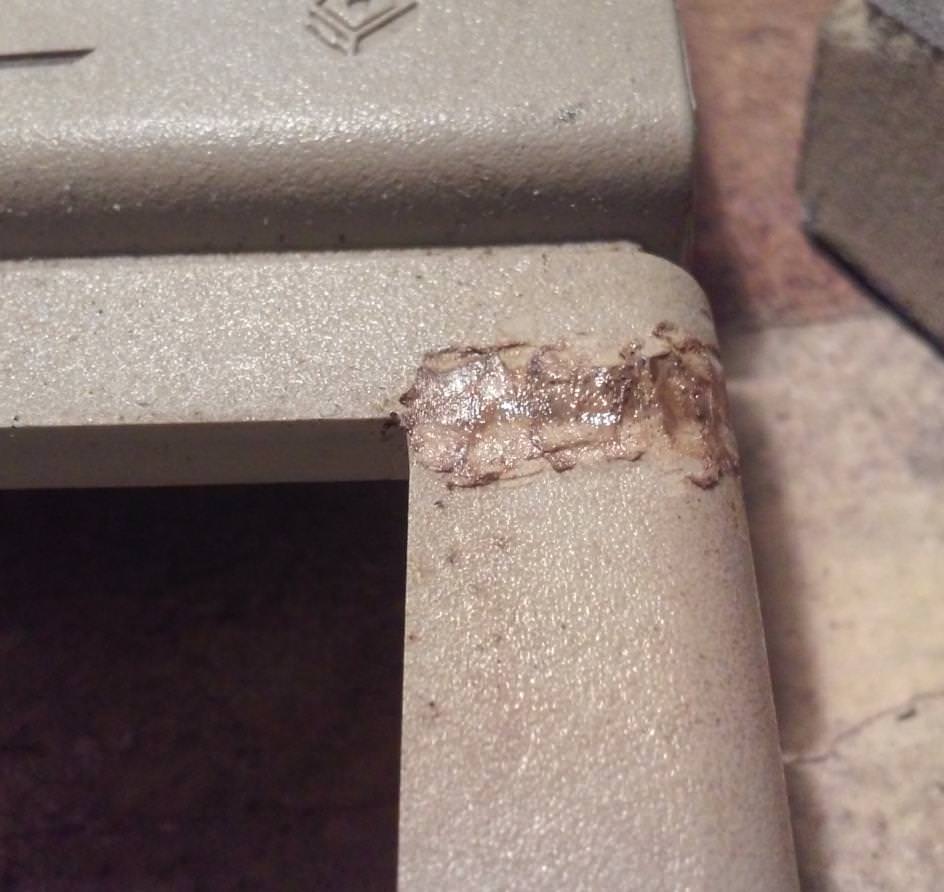
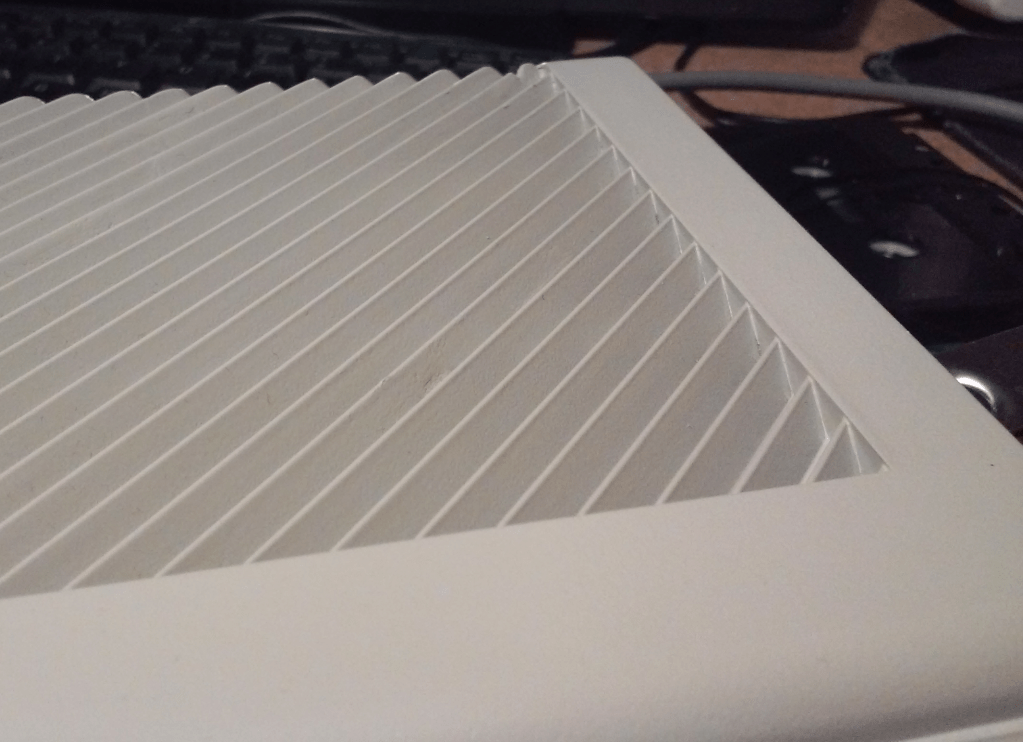
Plastic transplants
I can surely write that this part took most of the time that I’ve spent working on these rebuilds.
Again, I’ve lost quite a few pics so I cannot show how it exactly looked before but I still have a lot of pics showing work in progress and final effects.
Hopefully, this will suffice 🙂
I had to fix nearly all of the cases, however, I already knew that I won’t be able to fix all of ’em.
By the way, all this work was done before Atari 800 XL that I did a while ago
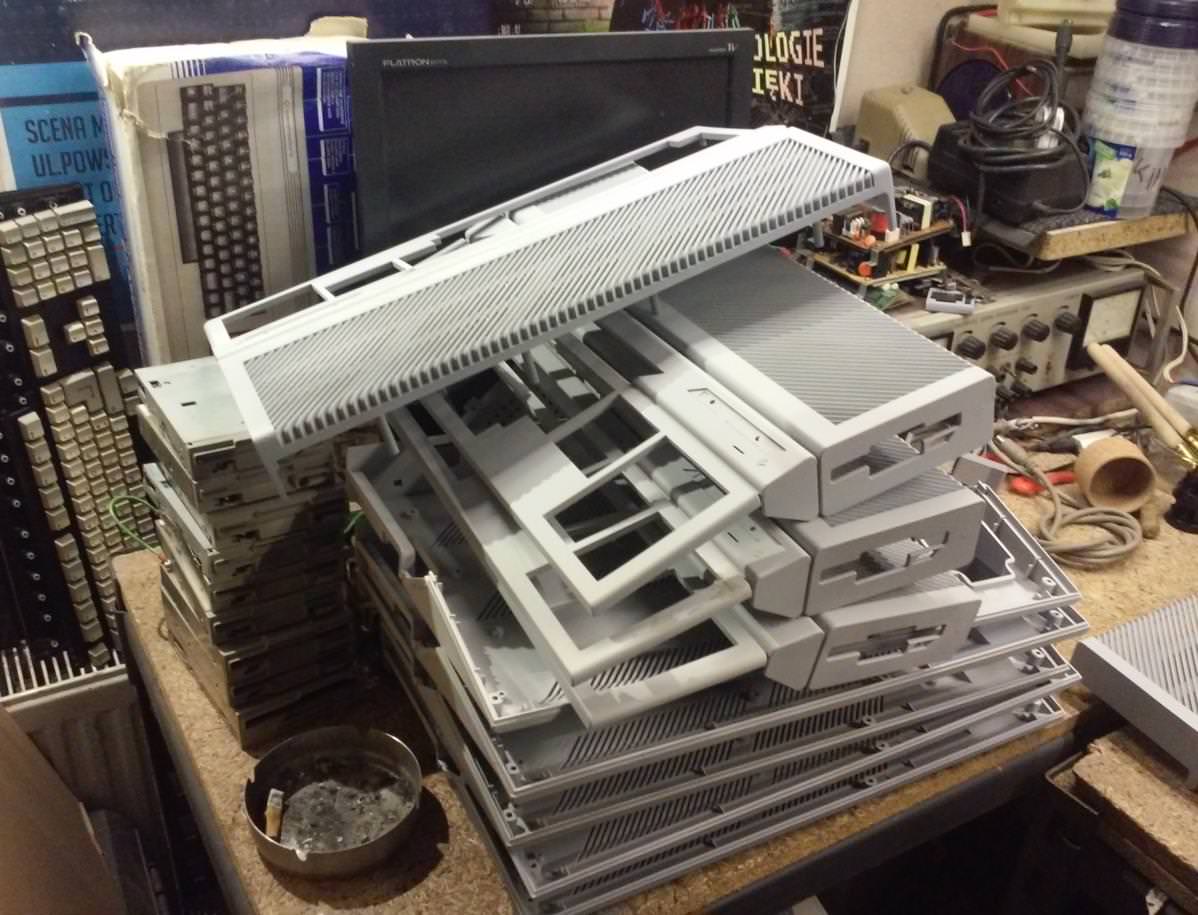
I’ve put all of the cases on the floor and looked for the ones that had to be sacrificed. These cases became donors. I chose those that were seriously broken and missing big chunks of plastic.
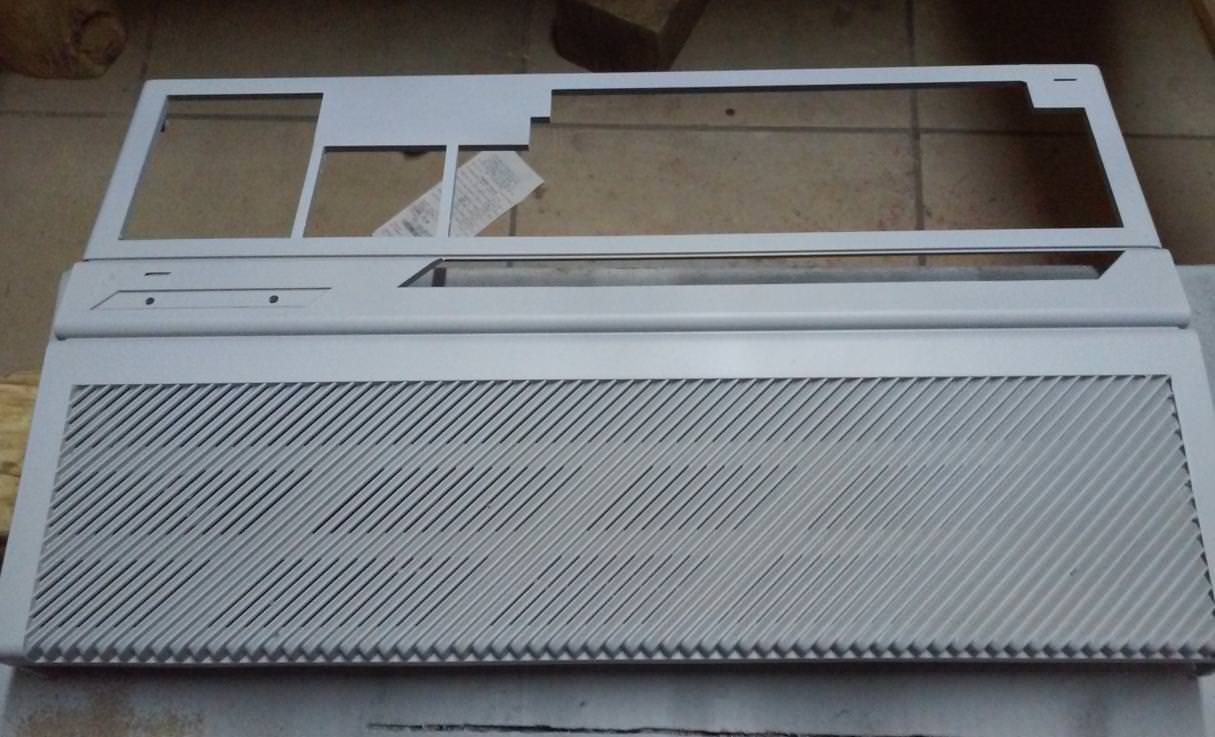
Below is a picture of a donor and receiver prepared for transplantation 😀

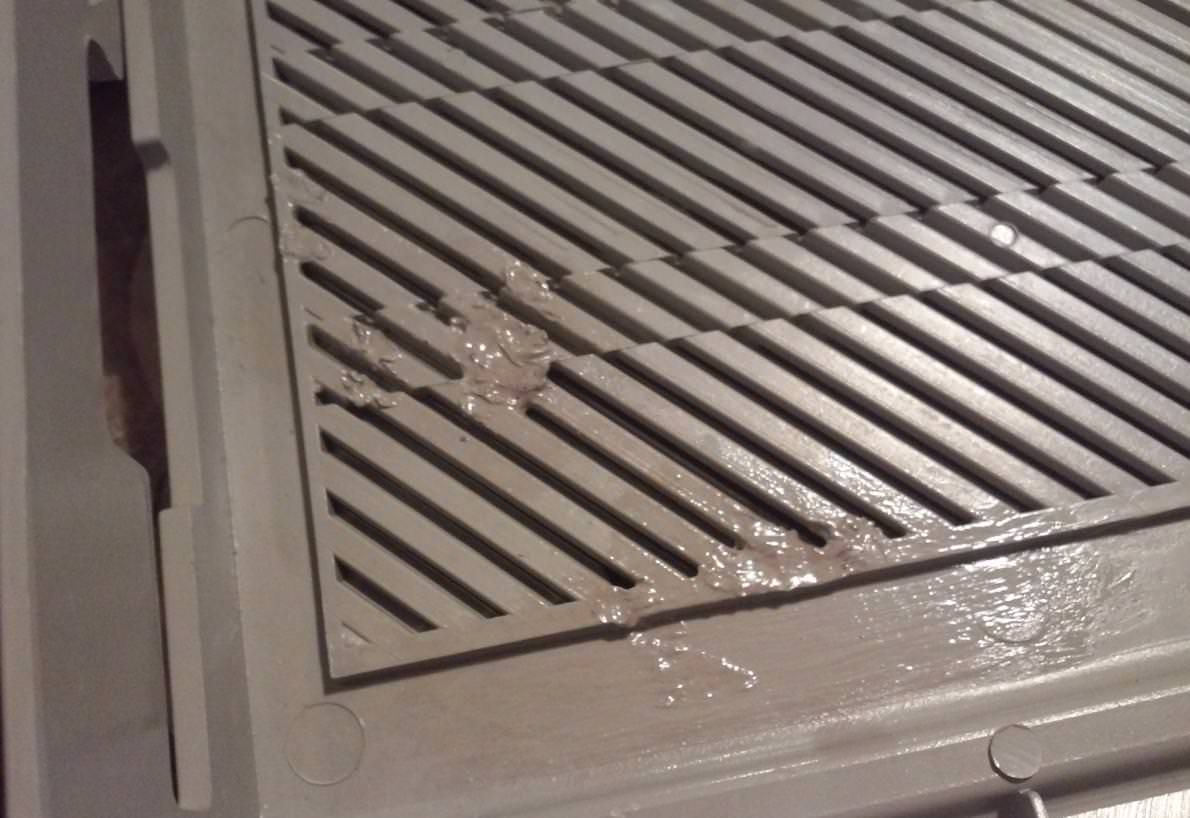
Parts were “glued” together with the help of my soldering iron. I’ve shown this method in my previous posts already.

It was then sanded and treated with acetone to strengthen the bond and smoothen it a bit.

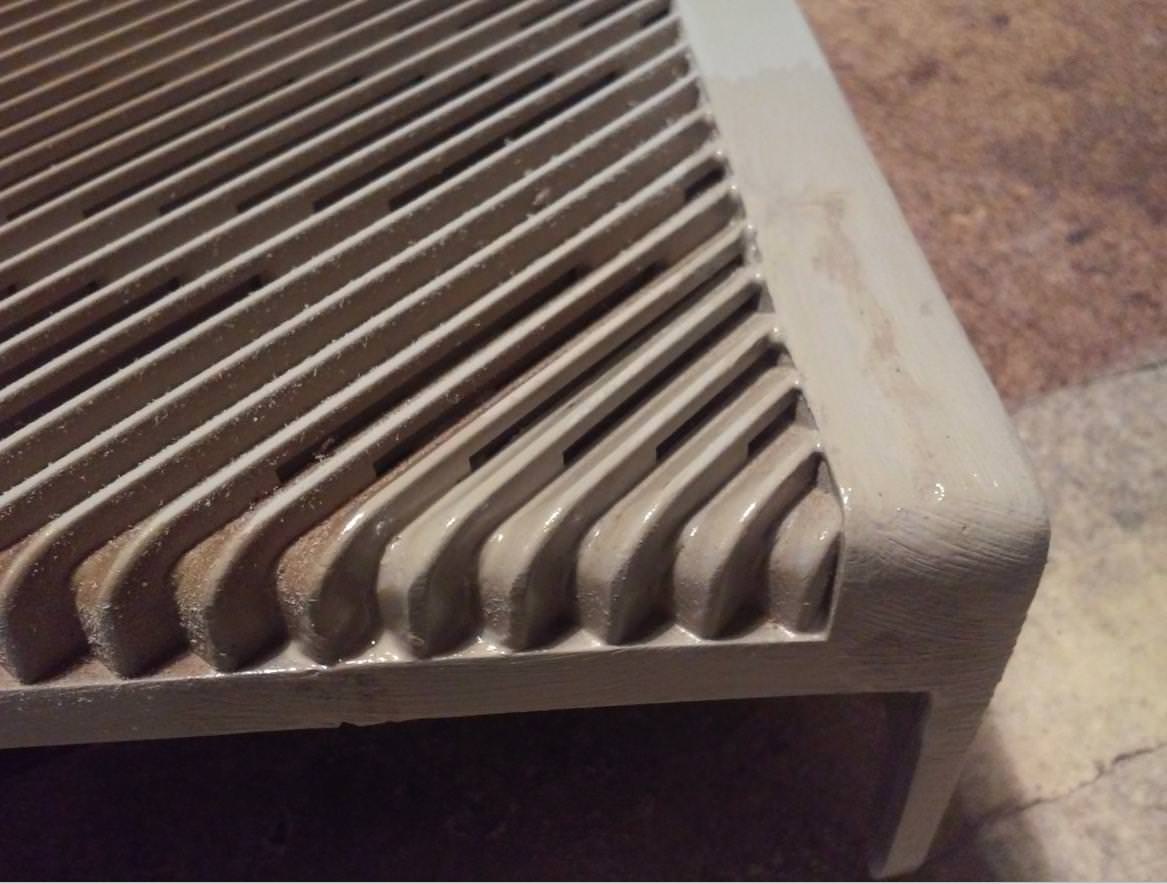

The same method was applied to all other parts with quite a success 😀
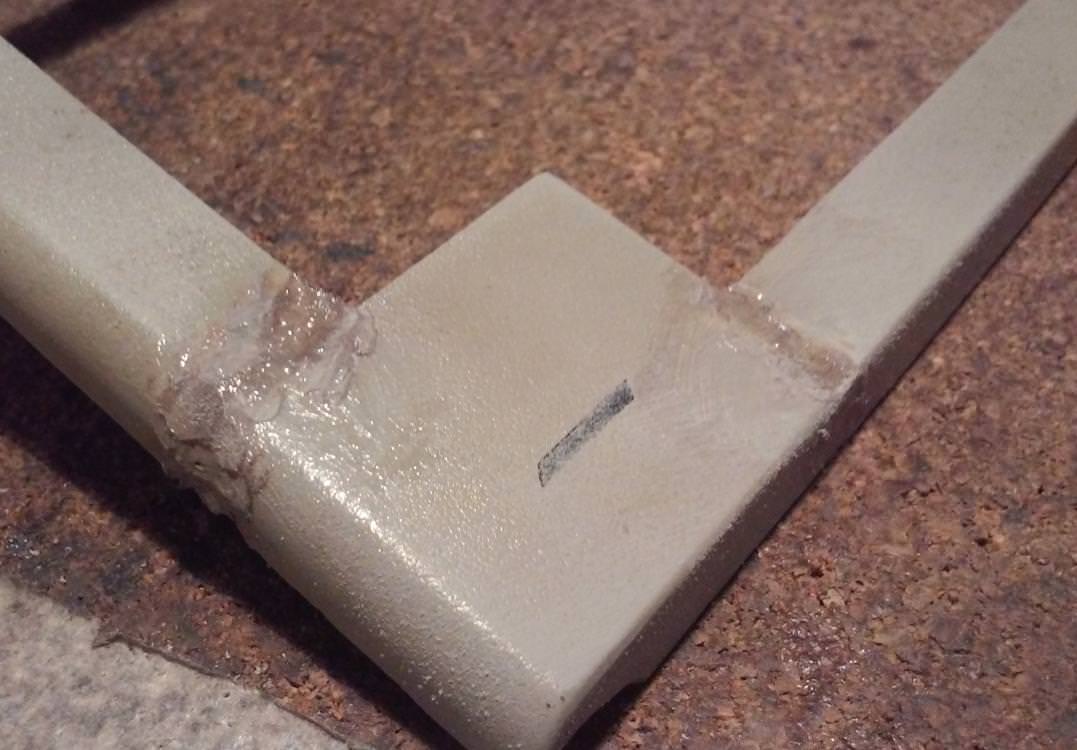


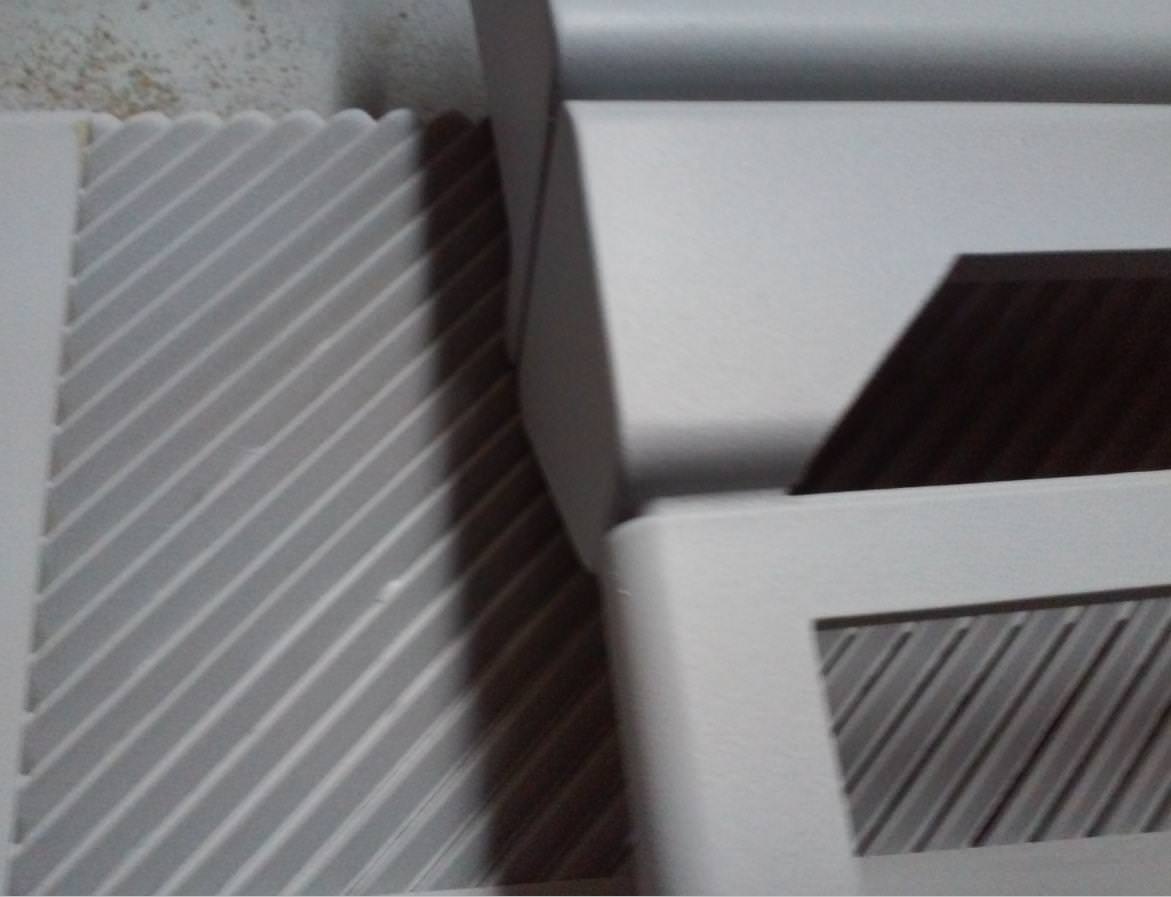
Some parts had to be reinforced with metal to prevent future failure.
I mentioned earlier that these rebuilds were done quite a while ago.
I am mentioning this because I’ve developed a way better method recently.
I’ll share it in the future.
Anyway, what I did was simple. I’ve used stranded wires and kinda melted ’em into ABS. That formed quite a strong joint.
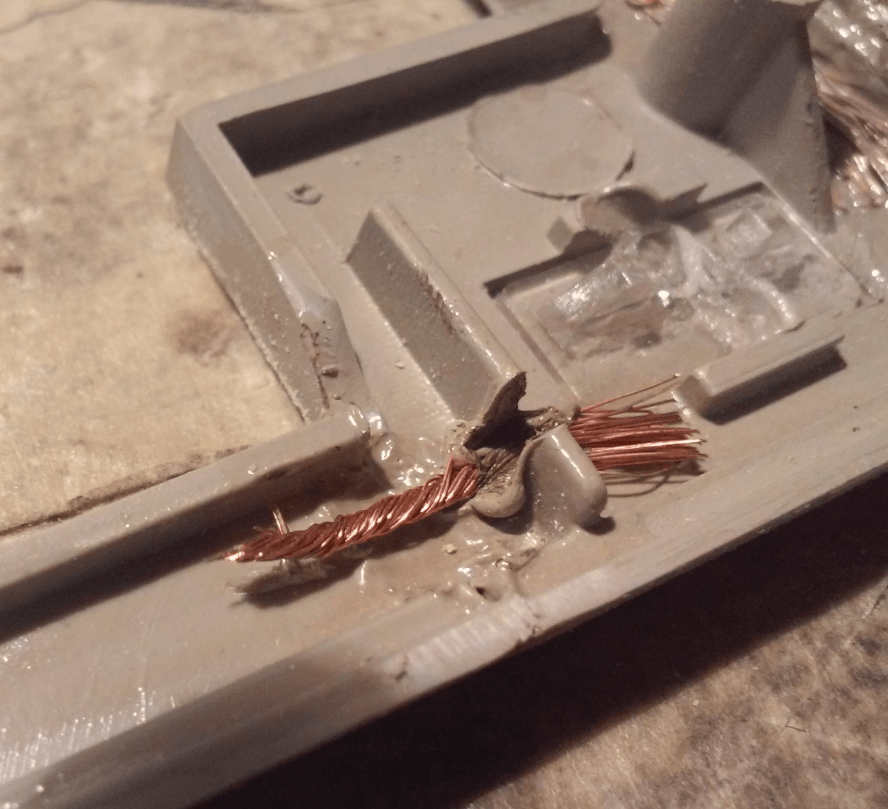
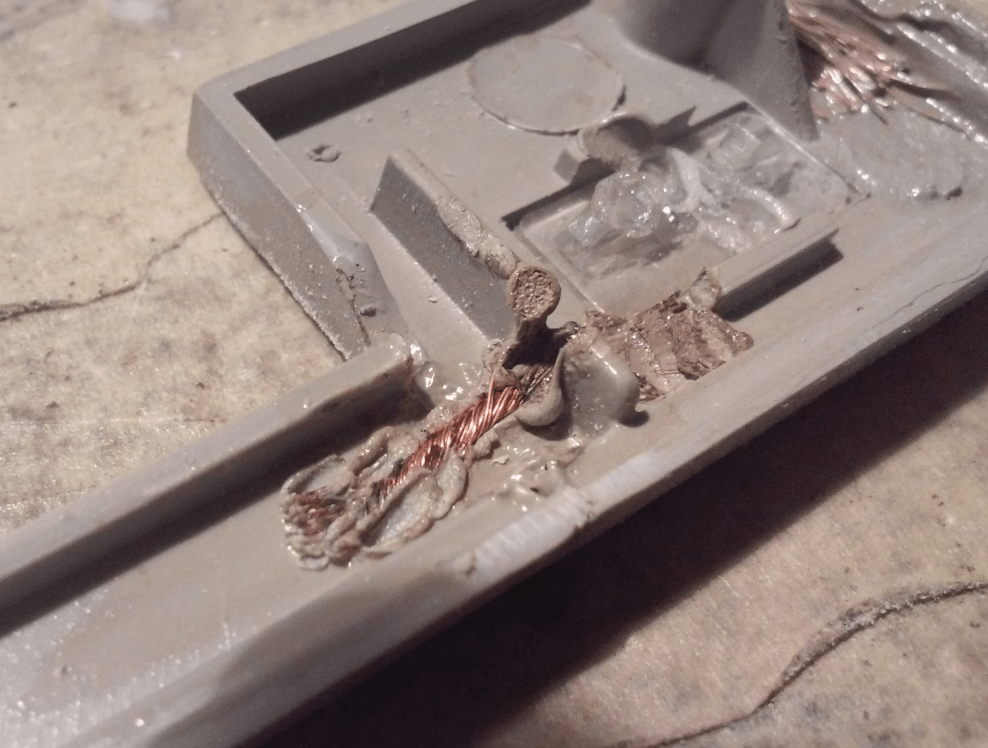

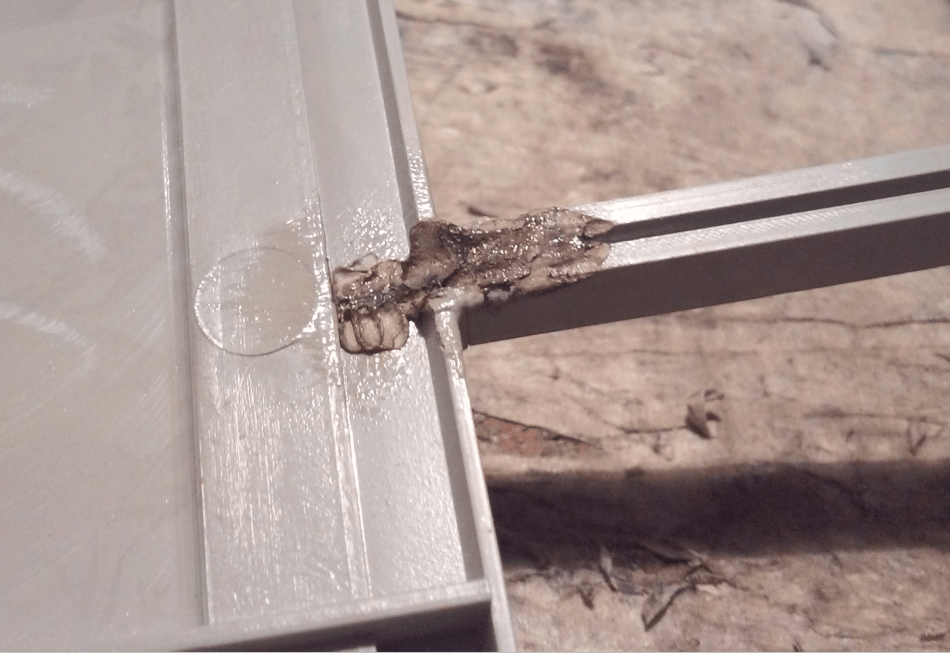
Acetone helped a lot as a finishing agent.


Some parts of the cases had cracks or were simply uneven. That had to be sorted out with the help of putty.
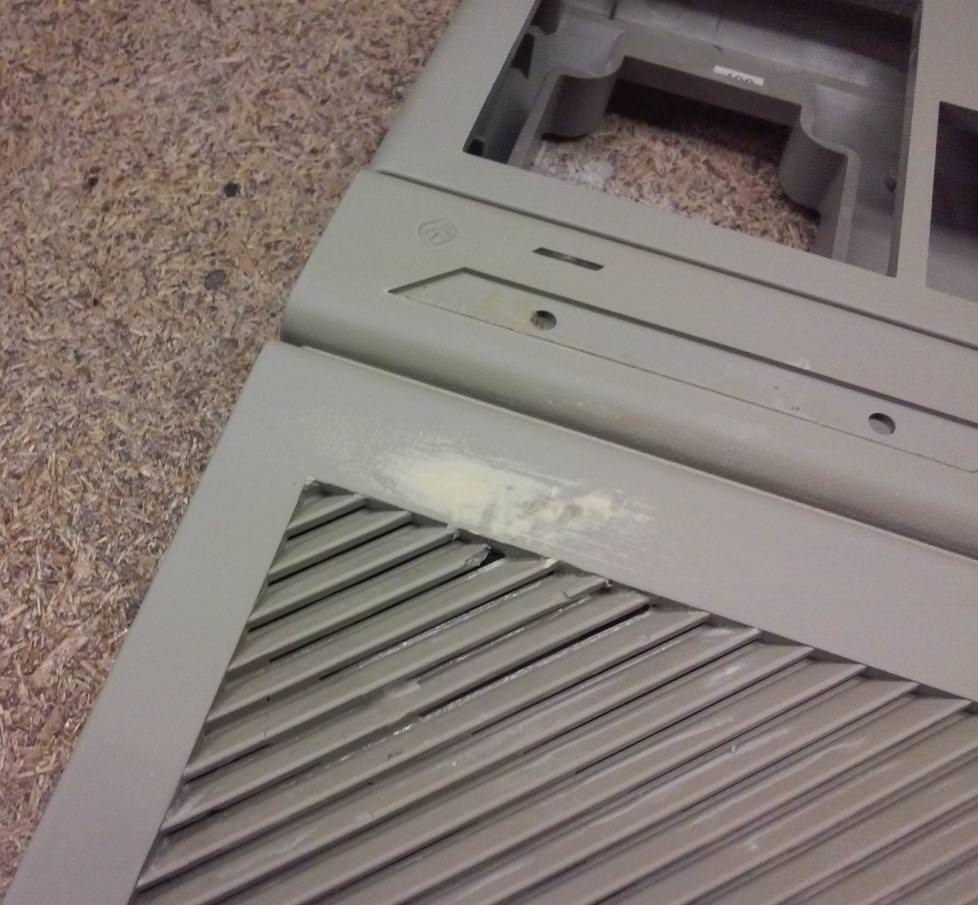
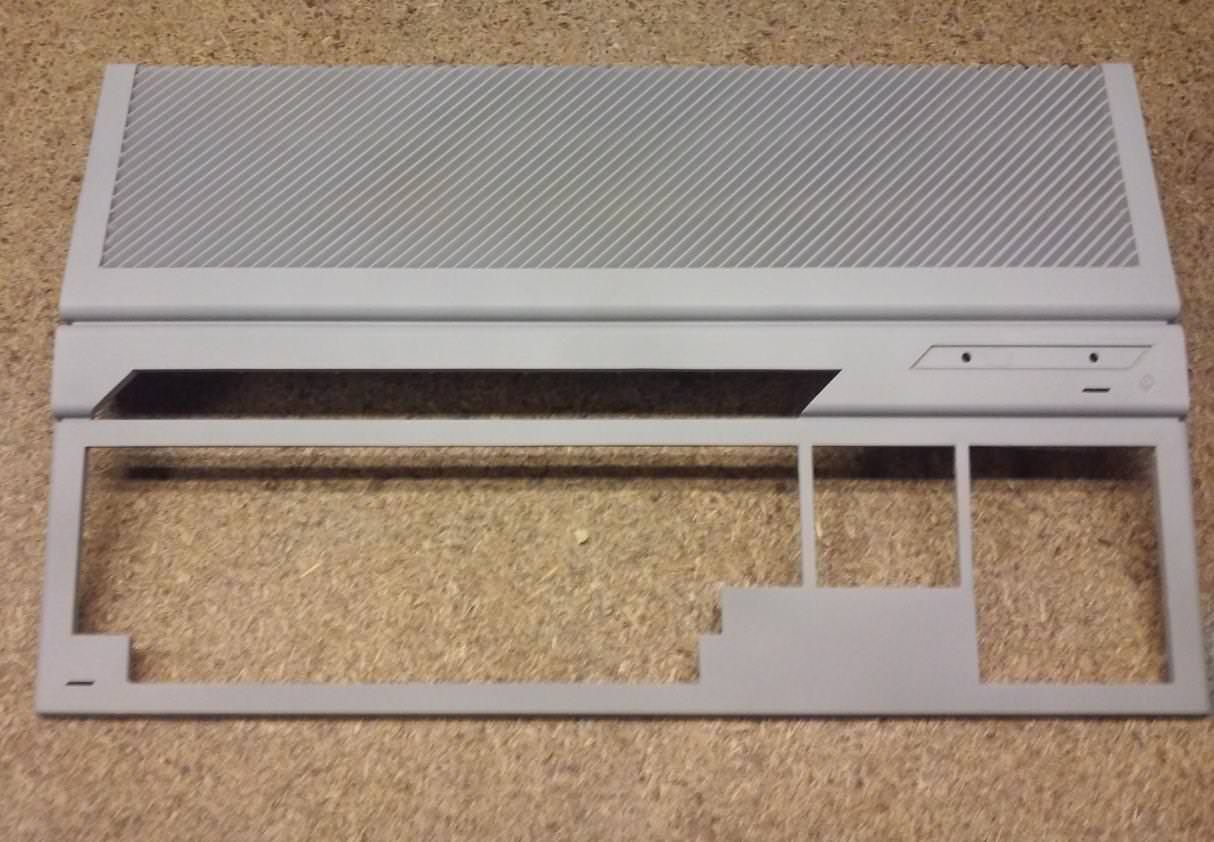
When everything was prepared, the painting festival was announced lol.
Below, are some pics of cases that were painted with grey matt.
Although, I did use a few different spray paints to compare it and get the best matching color for future work.

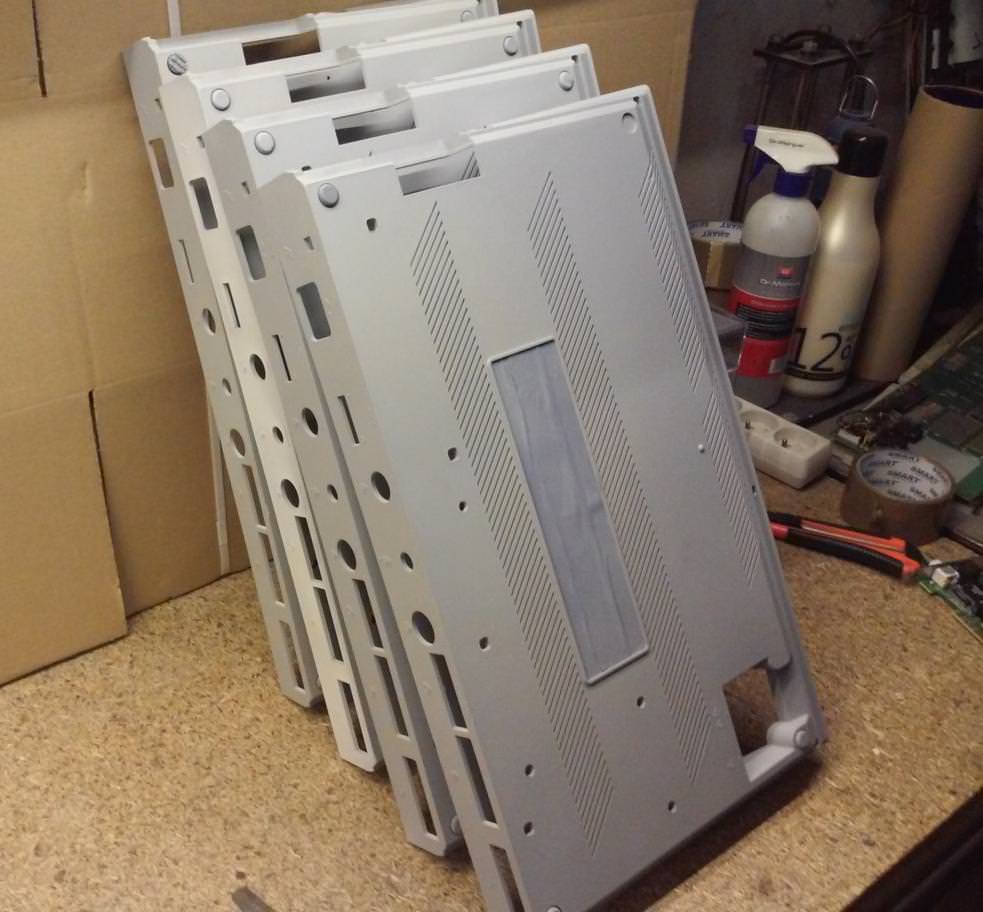
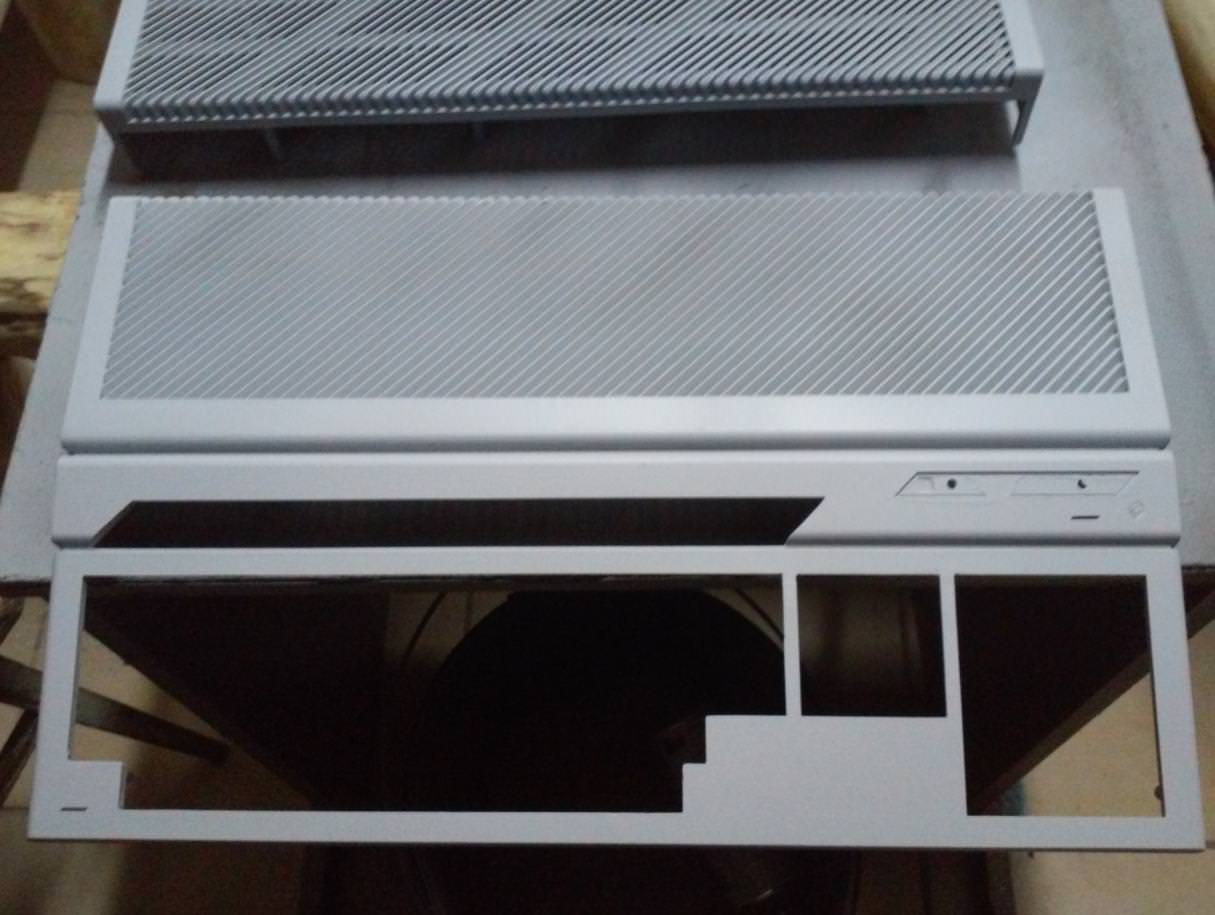

Outcome
Not all machines were rescued. I have a few pics of some of the rescued ones – Atari STFs that I’ve worked on.
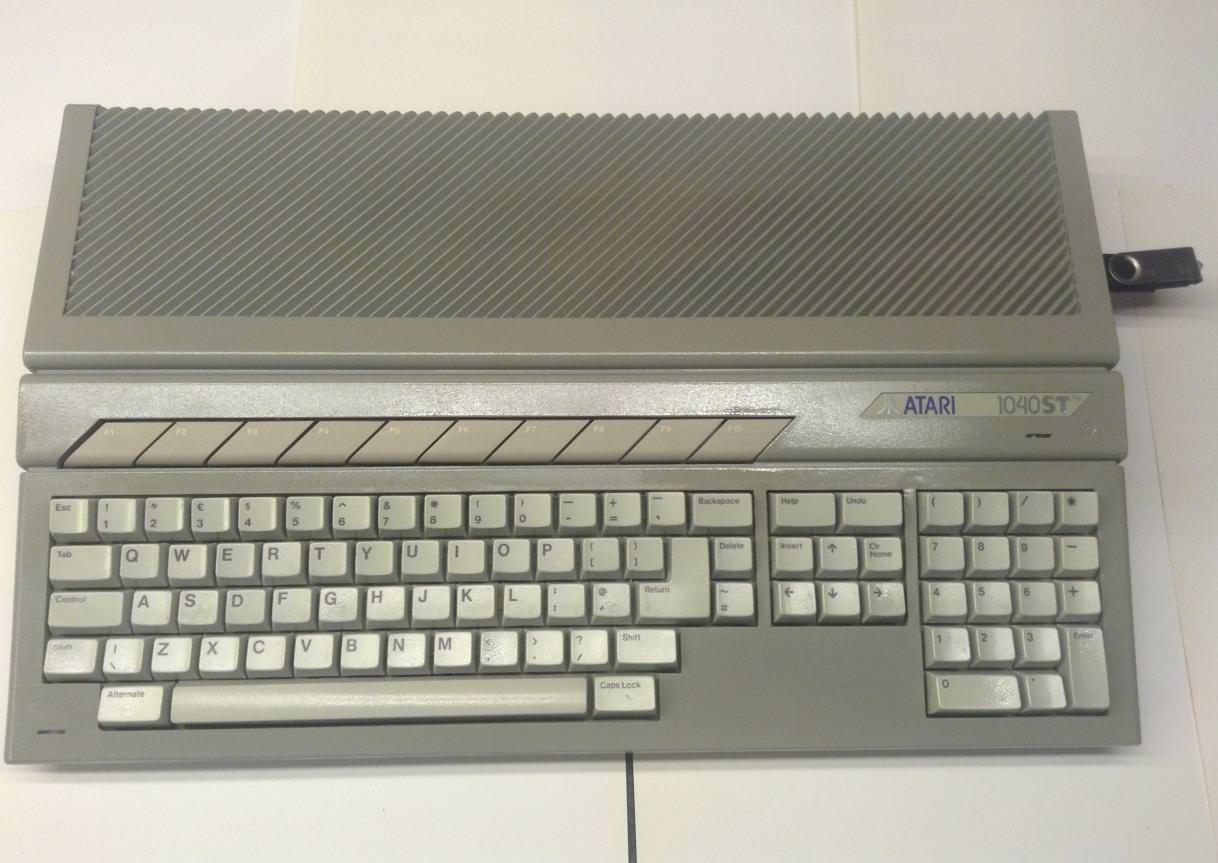
Here is 1040 STFM a.k.a The Glossy Survivor
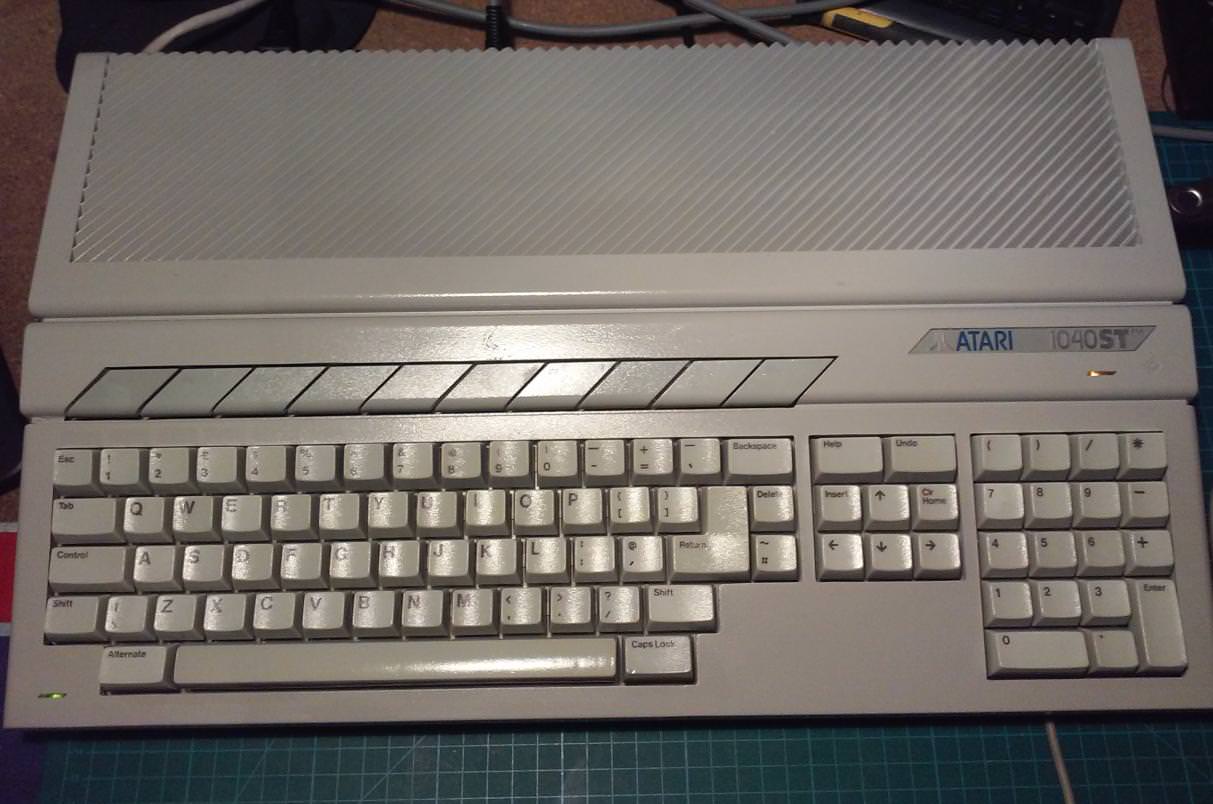

and here 1040 STFM a.k.a Falcon wannabe
 t
t
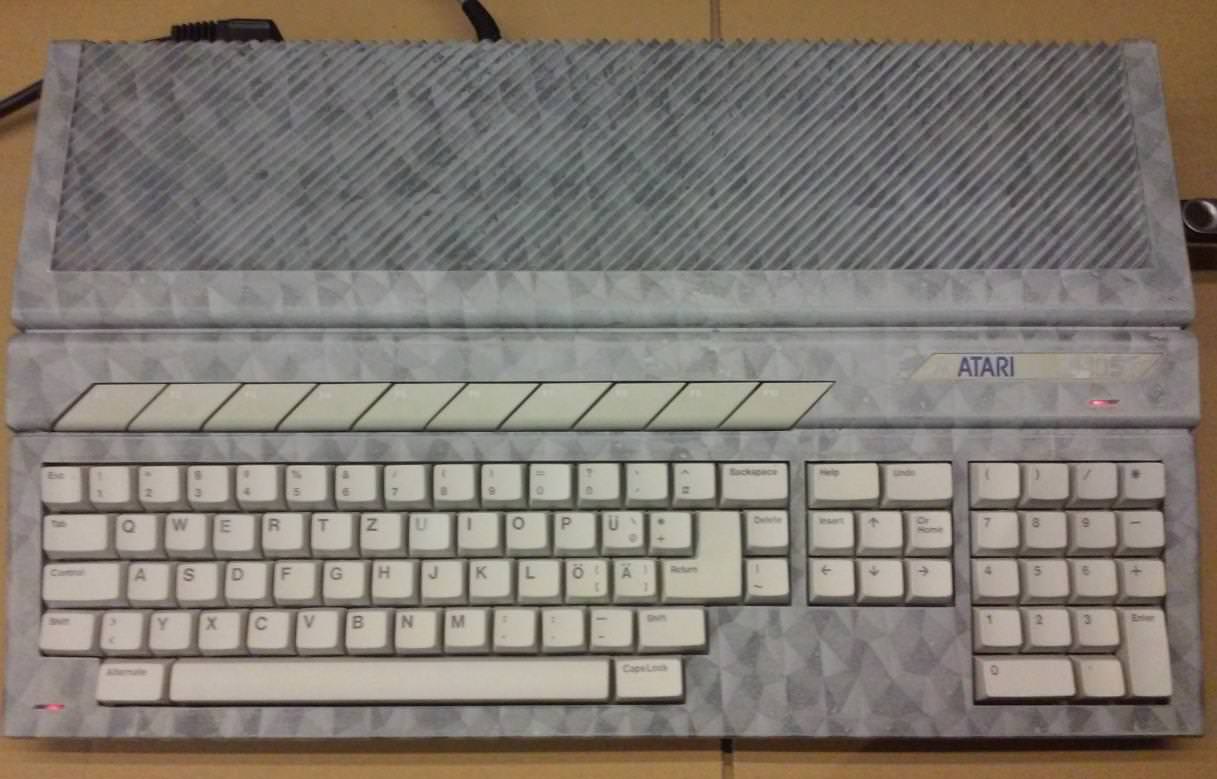
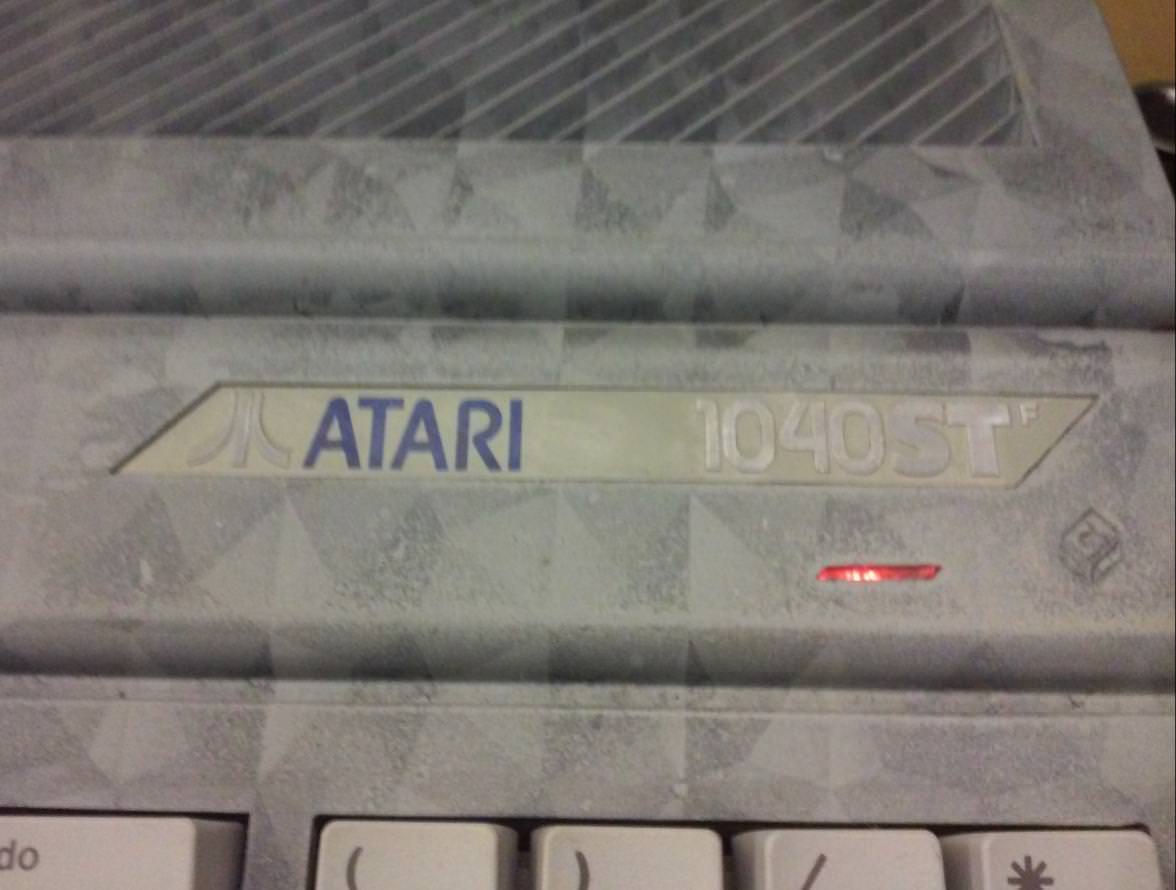
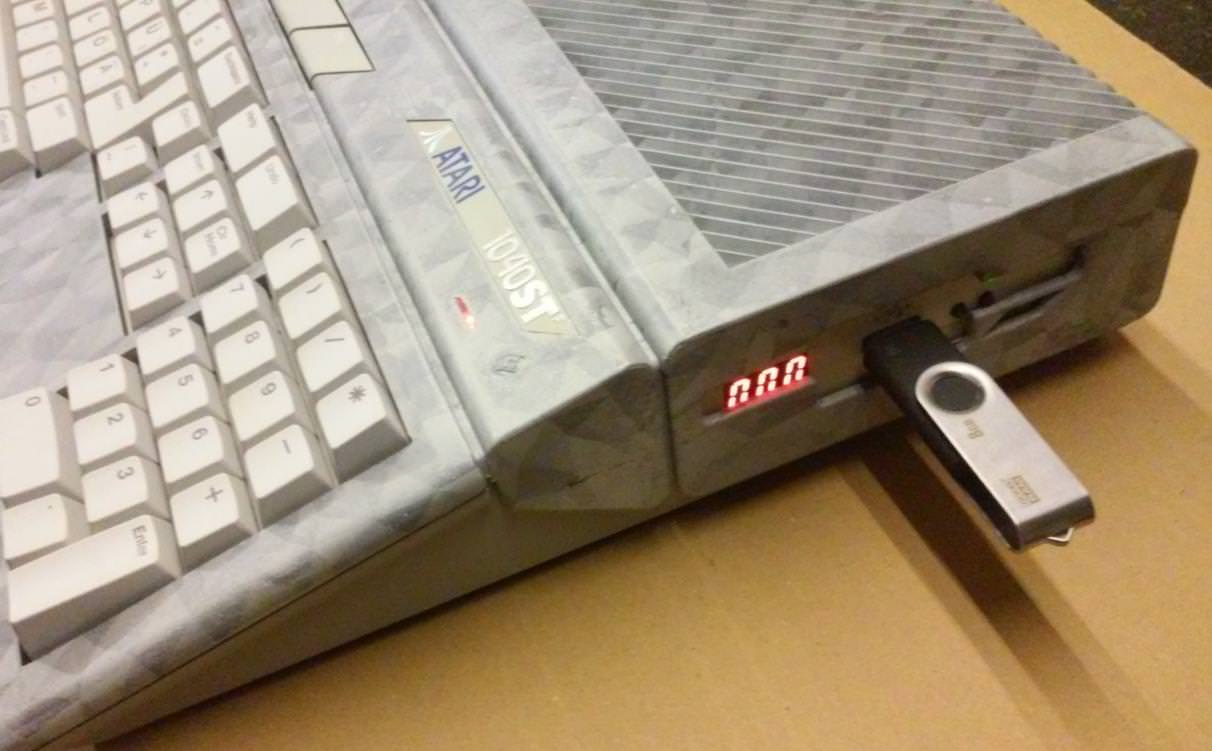
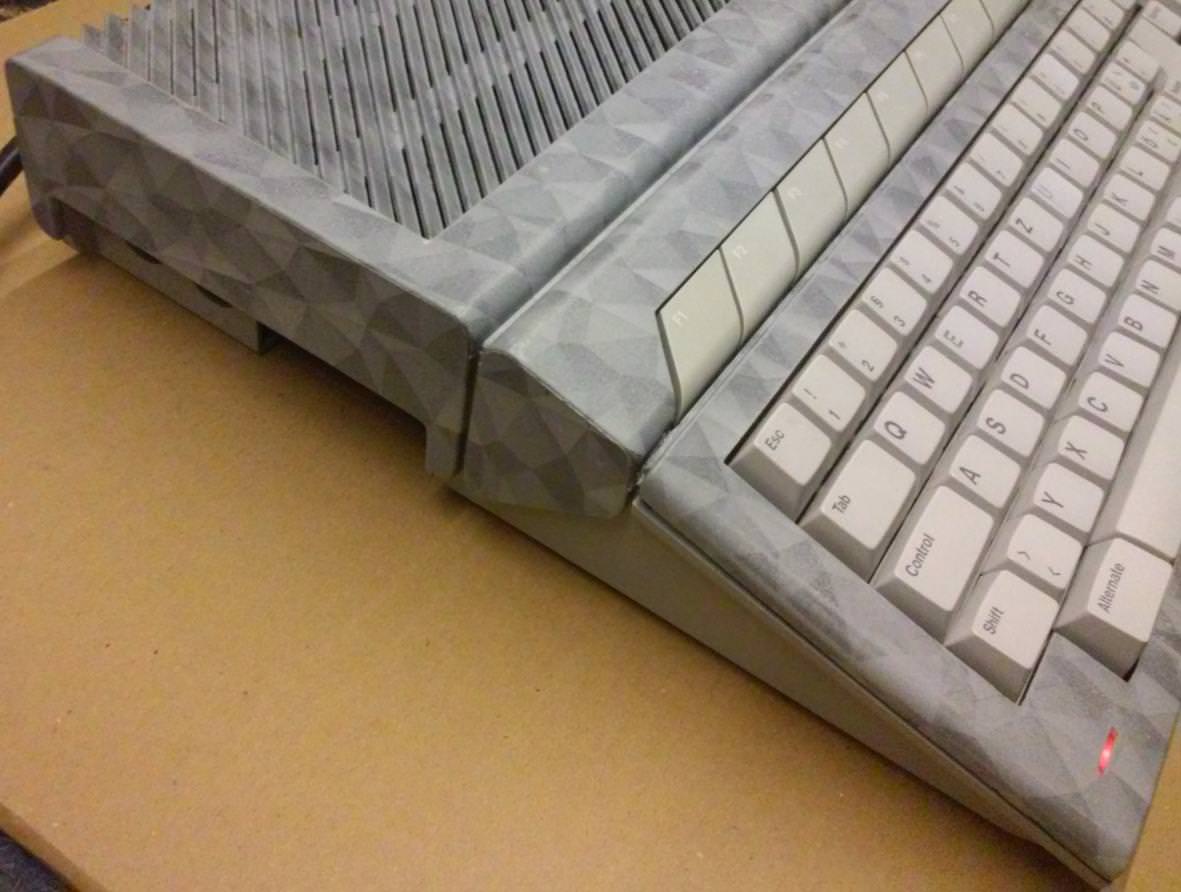
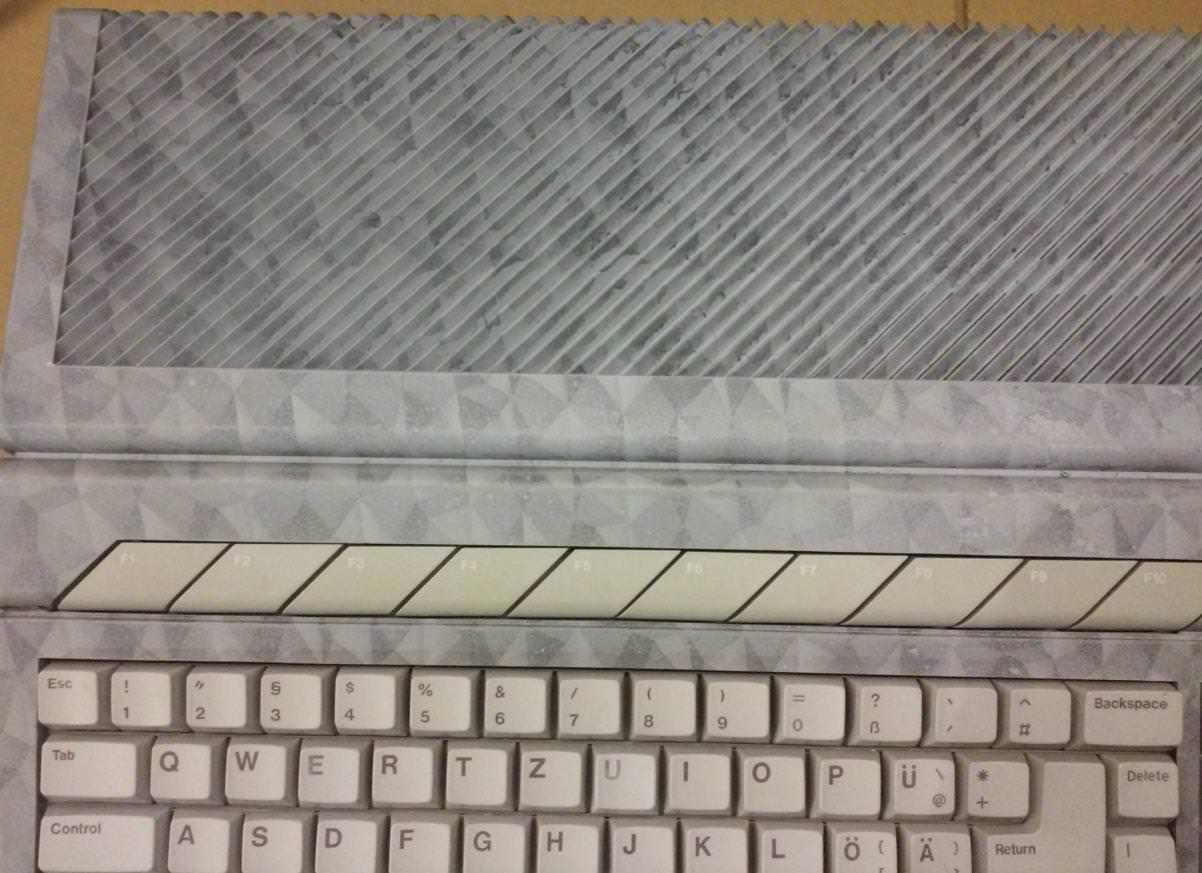
the last one here is 1040 STF a.k.a. Worn out triangles – HydroGraphics
That is it! I hope you’ve enjoyed it 🙂
OUTRO
If you want to get retro gear or hardware modules, please visit our shop
New products are added every month.
Also, please support our work by spreading info about it.
Without your support, we simply cannot grow and we have a lot of new excellent retro hardware (and more) products to come 
One thought on “Atari – The frankenSTein series”