… or “Rise of The TrollBot”
This is the third part of my posts about 3D printers that I’ve created over the past four years.
Here is a first part
The second one is here
Part three
Ha! This is by far my longest project since it tends to never end. It already went through countless upgrades like m$ win XP ;P
I present you The TrollBot !! … because it trolls me all the time.
Short story
My second machine was working very well, however, I needed something bigger. Obviously, I’ve printed Trollbot on my previous machine. It is typical Prusa-Mendel-based construction but enlarged and hardened – original project bibONE was created by Krzysztof (Cheers Krzychu ;))
I built it over two years ago and it evolved a lot since then but let’s start from the beginning.
First run and specs

First print on third 3D Printer! Bigger and Better 😛 from pit on Vimeo.
As you can see, I decided to go with Nema-23 motors on the X and Y-axis. However, Z-axis remained powered by two Nema-17 motors and was running on M8 threaded rods in an early version.
X carriage had a UDS-4.5 heating head and a Yruds extruder powered by a short belt. It is IMO the best 3d printed extruder ever … and I’ve tested quite a few in past years. The system worked on a 3mm filament back then. I also didn’t have a 300×200 mm bed heater hence a smaller one 200×200 😉
The controller is RAMPS with Mega2650 and Allegro-based step sticks.
Upgrades
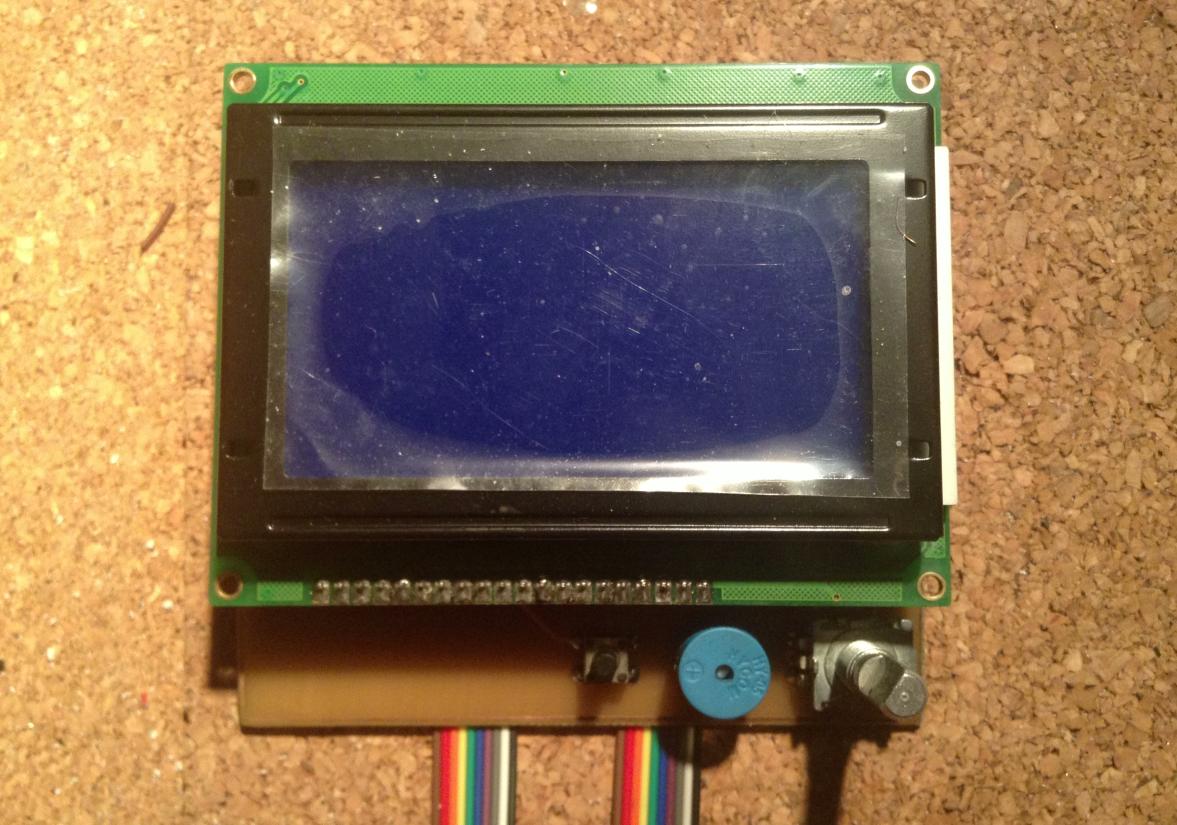
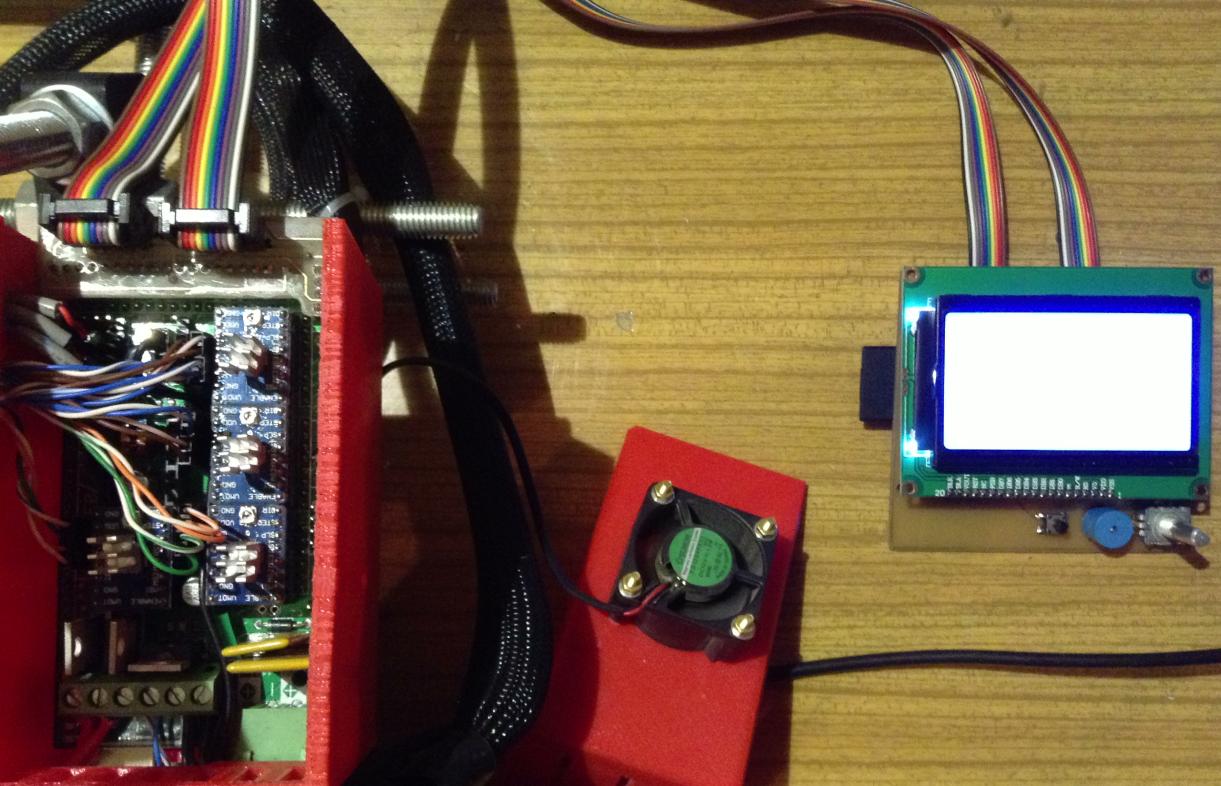
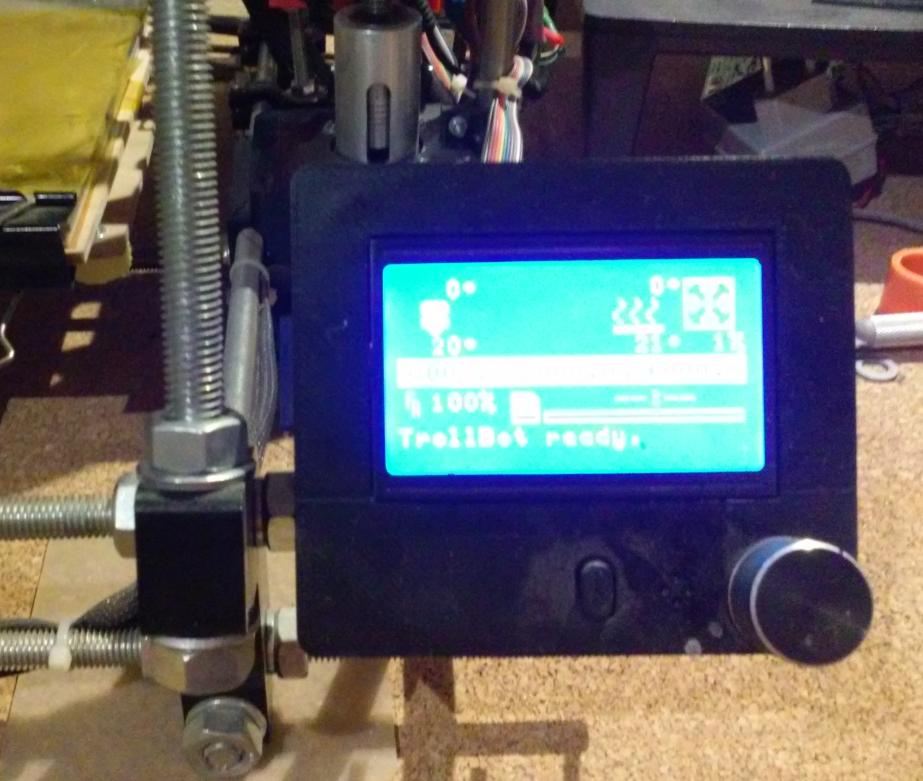
- New LCD – RRD FGSC
- New 24V heating bed – Ikea mirrors
- Heating head – Teflon hack
Once the base of a machine was kinda working I could start with upgrades. The first thing I needed was RRD Full Graphic Smart Controller – it is LCD with an SD Card slot to conveniently print with the computer turned off. I’ve built it myself with a bit of trouble.

It all went rather smoothly … except for this little bastard below 😉
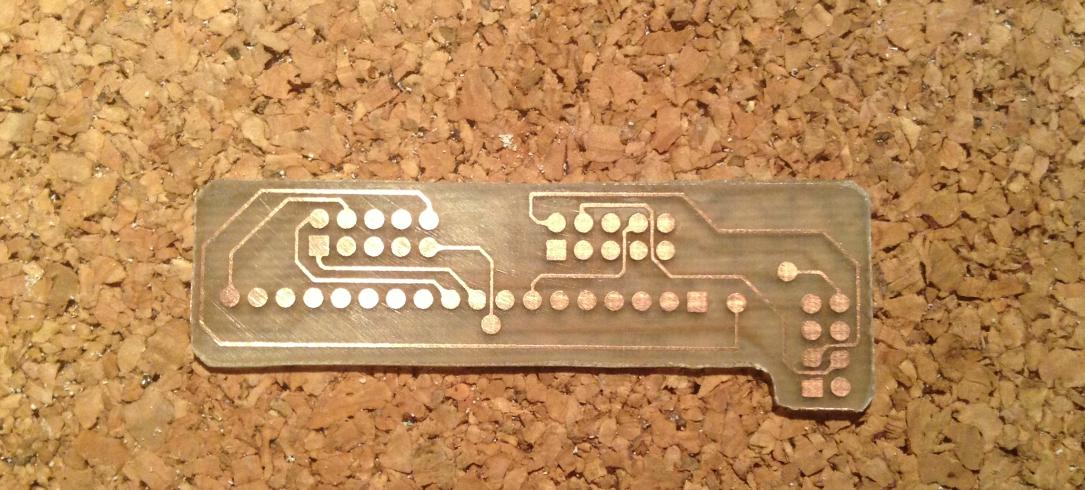
Since I couldn’t find proper Gerber files of it at that time, I had to reverse engineer this PCB from internet photos to nicely fit into my RAMPS connector … aaand it worked nicely 😉
3rd edyszyn + full graphic lcd and encoder from a pit on Vimeo.
I’ve also rebuilt the heating bed to print on Ikea mirrors which are quite even and cheap. The heating head was wrapped in a Teflon to minimize temperature loss.
Further upgrades and mods
- Bed auto-leveling
- Heating bed mods
- X-Carriage mods
- LCD Case
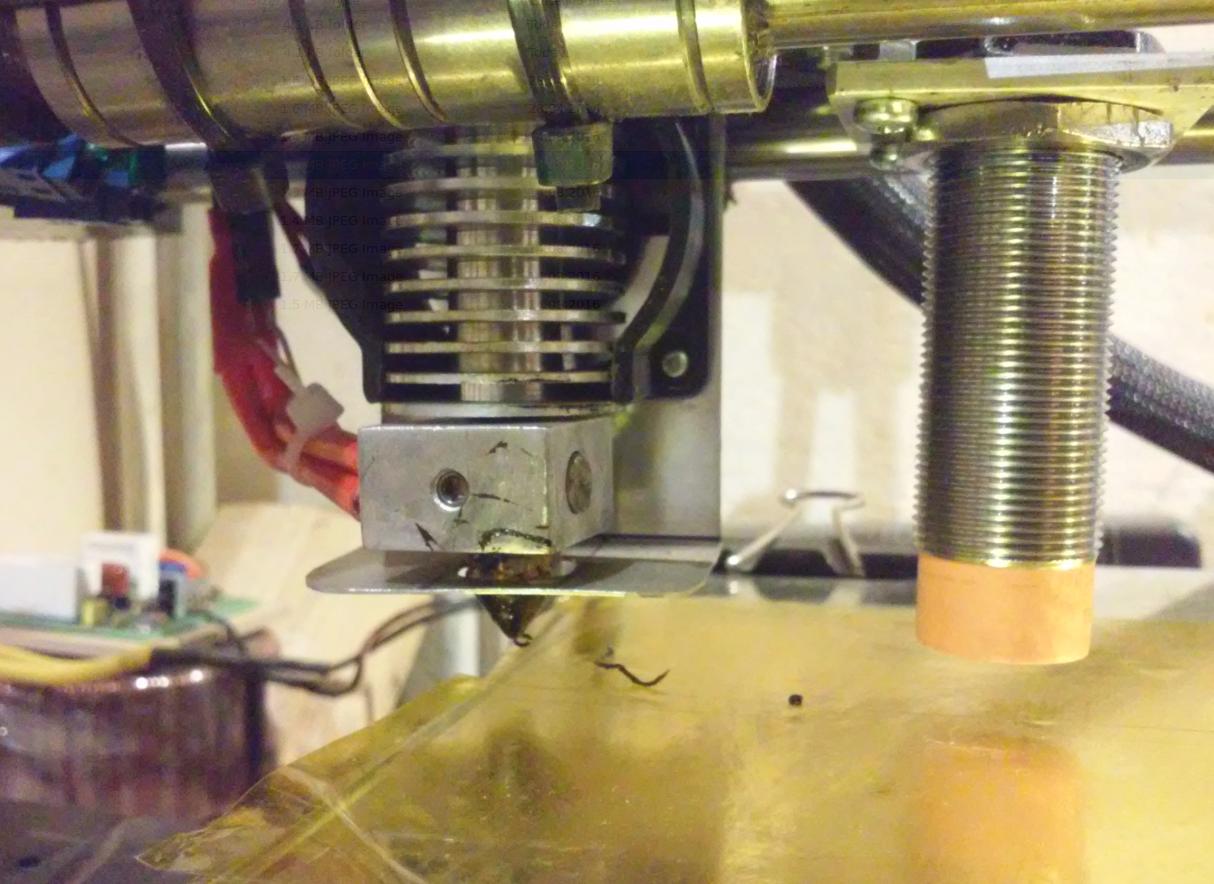
- New full metal heating head
- Trapezoidal Z-Axis screws
I’ve finally bought a 300×200 mm Kapton bed heater so I could start printing larger models and finally add automatic bed leveling. I chose a capacitive proximity sensor LCJ18A3 straight from Chinaaaaaa! Hell yeah 😉
However, I bought the wrong one so I had to connect it through relay lolz 😀
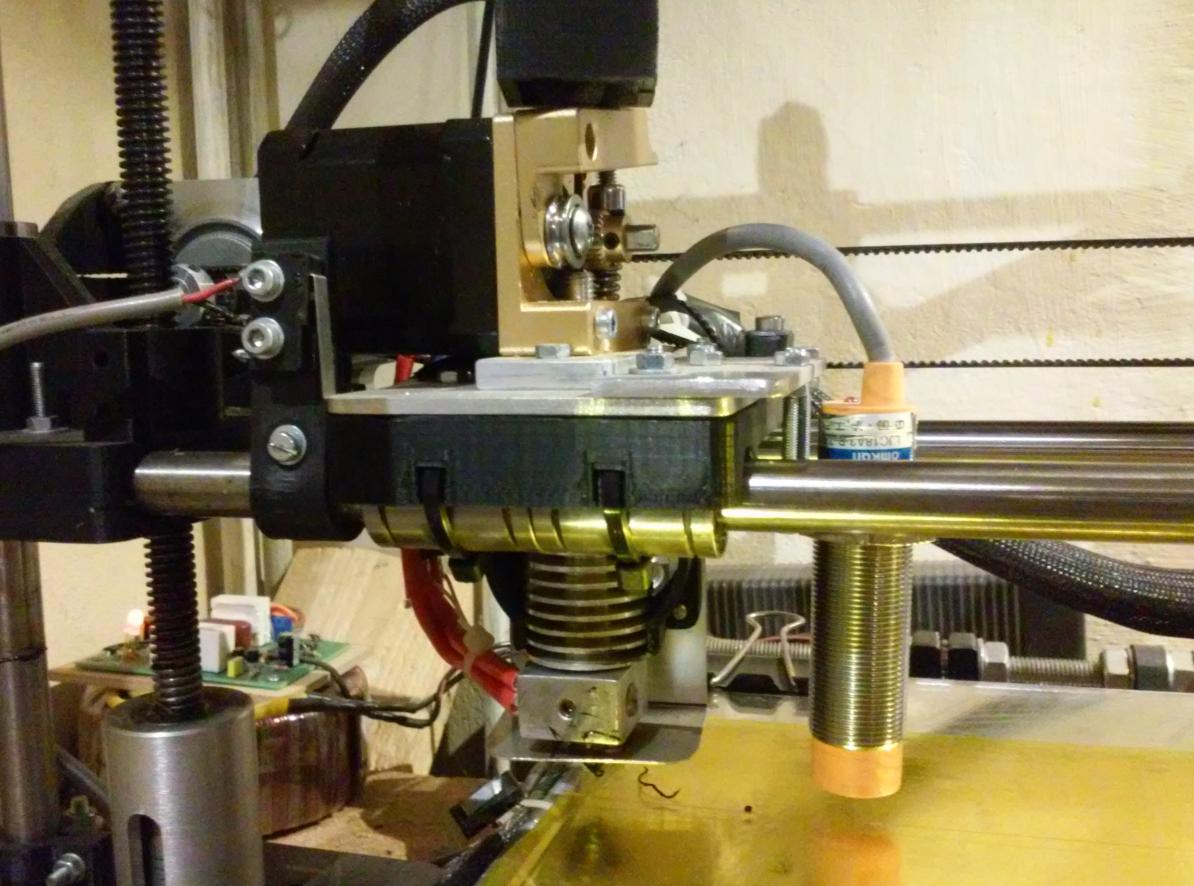
X-carriage was temporarily modified with a piece of plywood :D. That was necessary to install a brand new full metal heating head – Lama3D – which is created and produced by my friend Syntetyczny. (Cheers buddy ;))
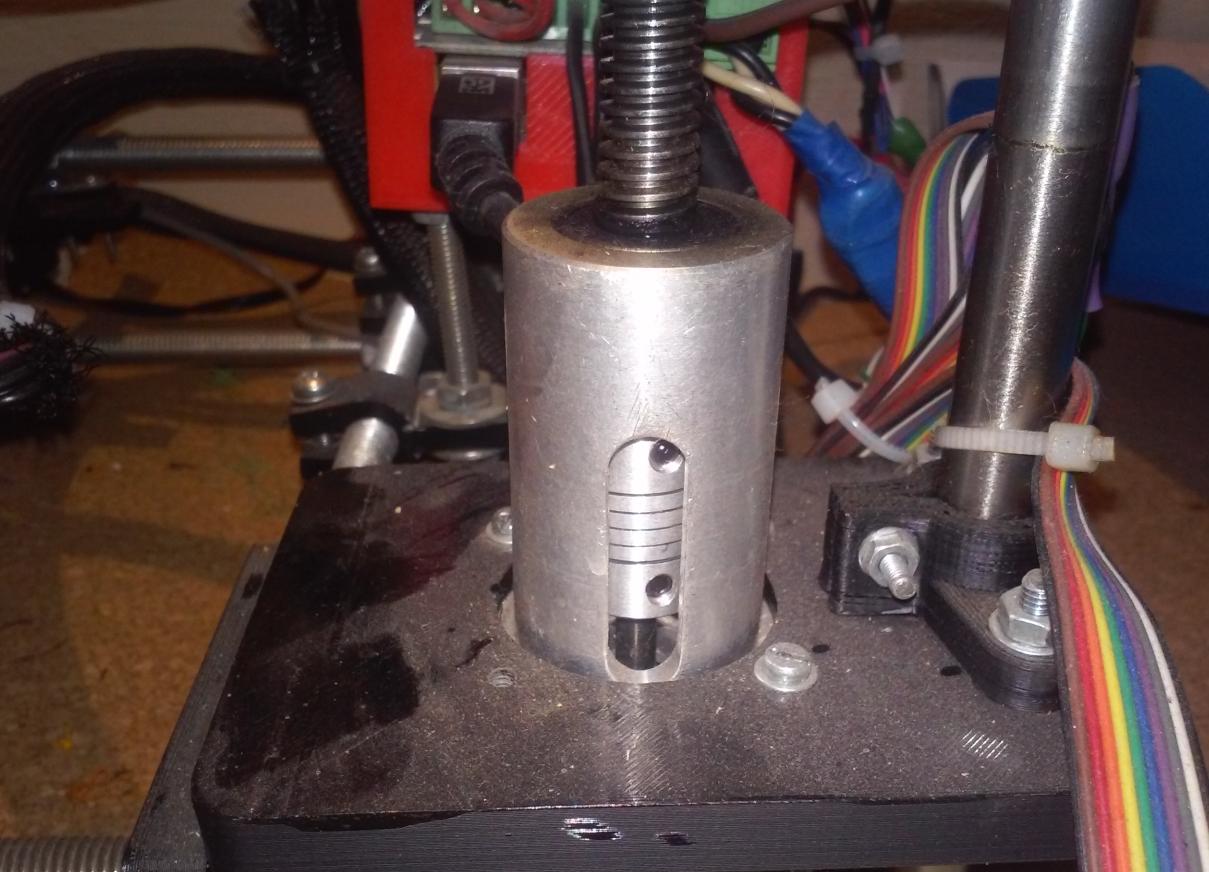
Z-Axis finally received 10mm trapezoidal screws along with CNC-made aluminum parts.
LCD got a new printed case.
Heated Bed Auto Leveling from pit on Vimeo.
And again further mods
- Dedicated PC based on terminal VIA C3 by HP
- New 24V 400W heated bed toroidal transformer
- Aluminum heating headcover
This time, I’ve installed brand new Xubuntu on a small 10W HP terminal – definitely not a speed demon but it does its job 😉
The power supply for the heating bed was too weak so it was swapped with a 400 W toroidal transformer.
I’ve also added a small aluminum sheet to cover the heating head and to protect PLA parts being printed from too much heat.
3D Printer – New Mods from pit on Vimeo.
Latest upgrades and mods
- New full metal extruder
- Switching to 1.75 mm filament
- New X-carriage
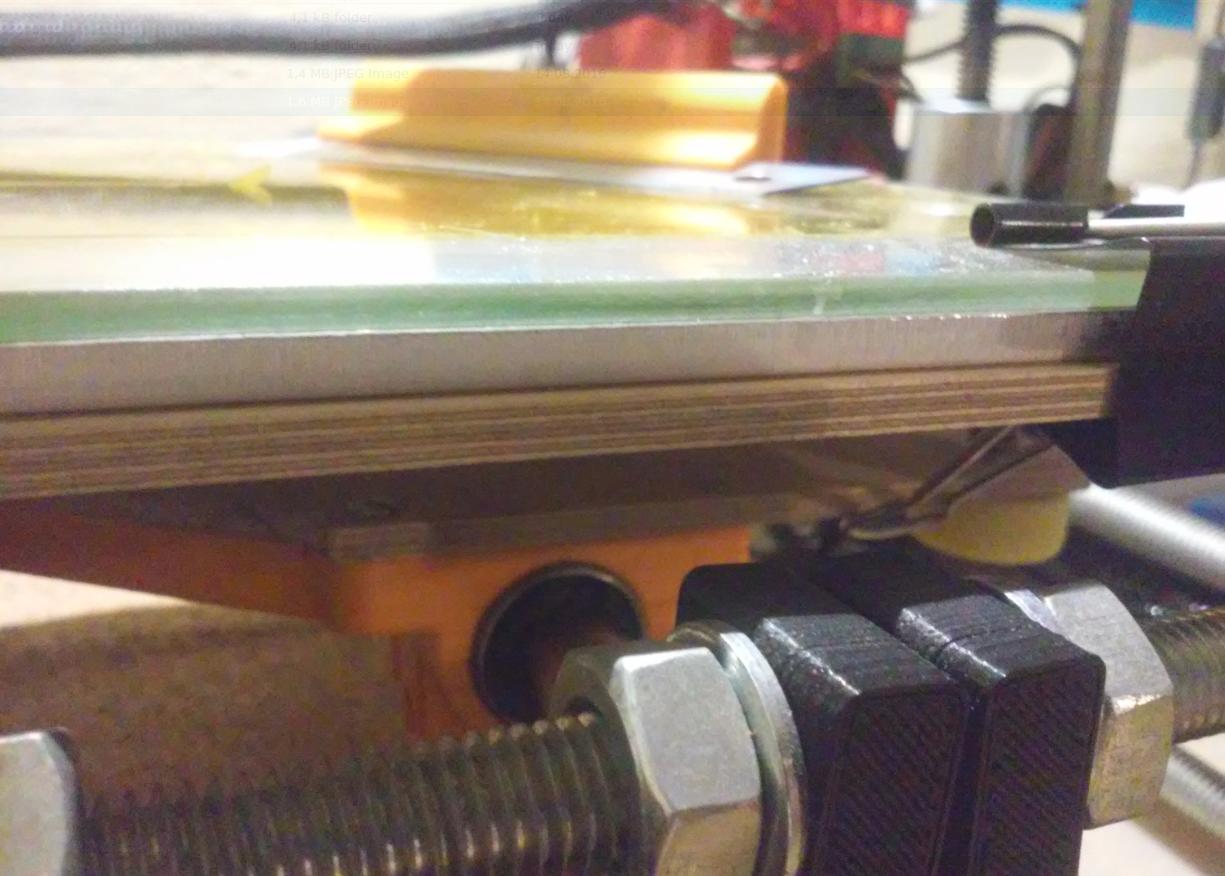
- Heating bed remake again 😀
- Transformer soft-start mod
Yup, so the time has come to switch to 1.75 mm filament.
I’ve bought a CNC-milled full metal, direct drive extruder with a small modification that would allow me to use J-Head heating heads.
For this, to work I needed to modify X-Carriage. I’ve used an aluminum plate this time for better heat dissipation.

I had a few problems with a toroidal transformer. It simply blew out fuses every time it started. I’ve added a soft-start circuit to get rid of that problem.

The heating bed finally received its (hopefully) last mod.
The lower part was 3D printed and hardened with plywood.
The upper part has 3 layers – plywood with a Kapton heater with an aluminum sheet on top of it to evenly distribute heat. That sandwich is covered by Ikea mirror with Kapton tape – finally, it works flawlessly
So here it is in its latest form!
The TrollBot!

3D Printer – New uber upgrades from pit on Vimeo.
OUTRO
If you want to get retro gear or hardware modules, please visit our shop
New products are being added every month.
Also, please support our work by spreading info about it.
Without your support, we simply cannot grow and we have a lot of new cool retro hardware (and more) products to come 